[模型网评测]MENG(SS-015)-1/35德国 救援豹/维修豹A型 装甲救援车-制作过程2
发布时间:2018-09-06 作者:congwong 来源:本站原创 浏览次数:0 网友评论 0 条
车体后半段是发动机舱,这里是没有内构的。

变速箱,绞车与车体之间组合度不错。
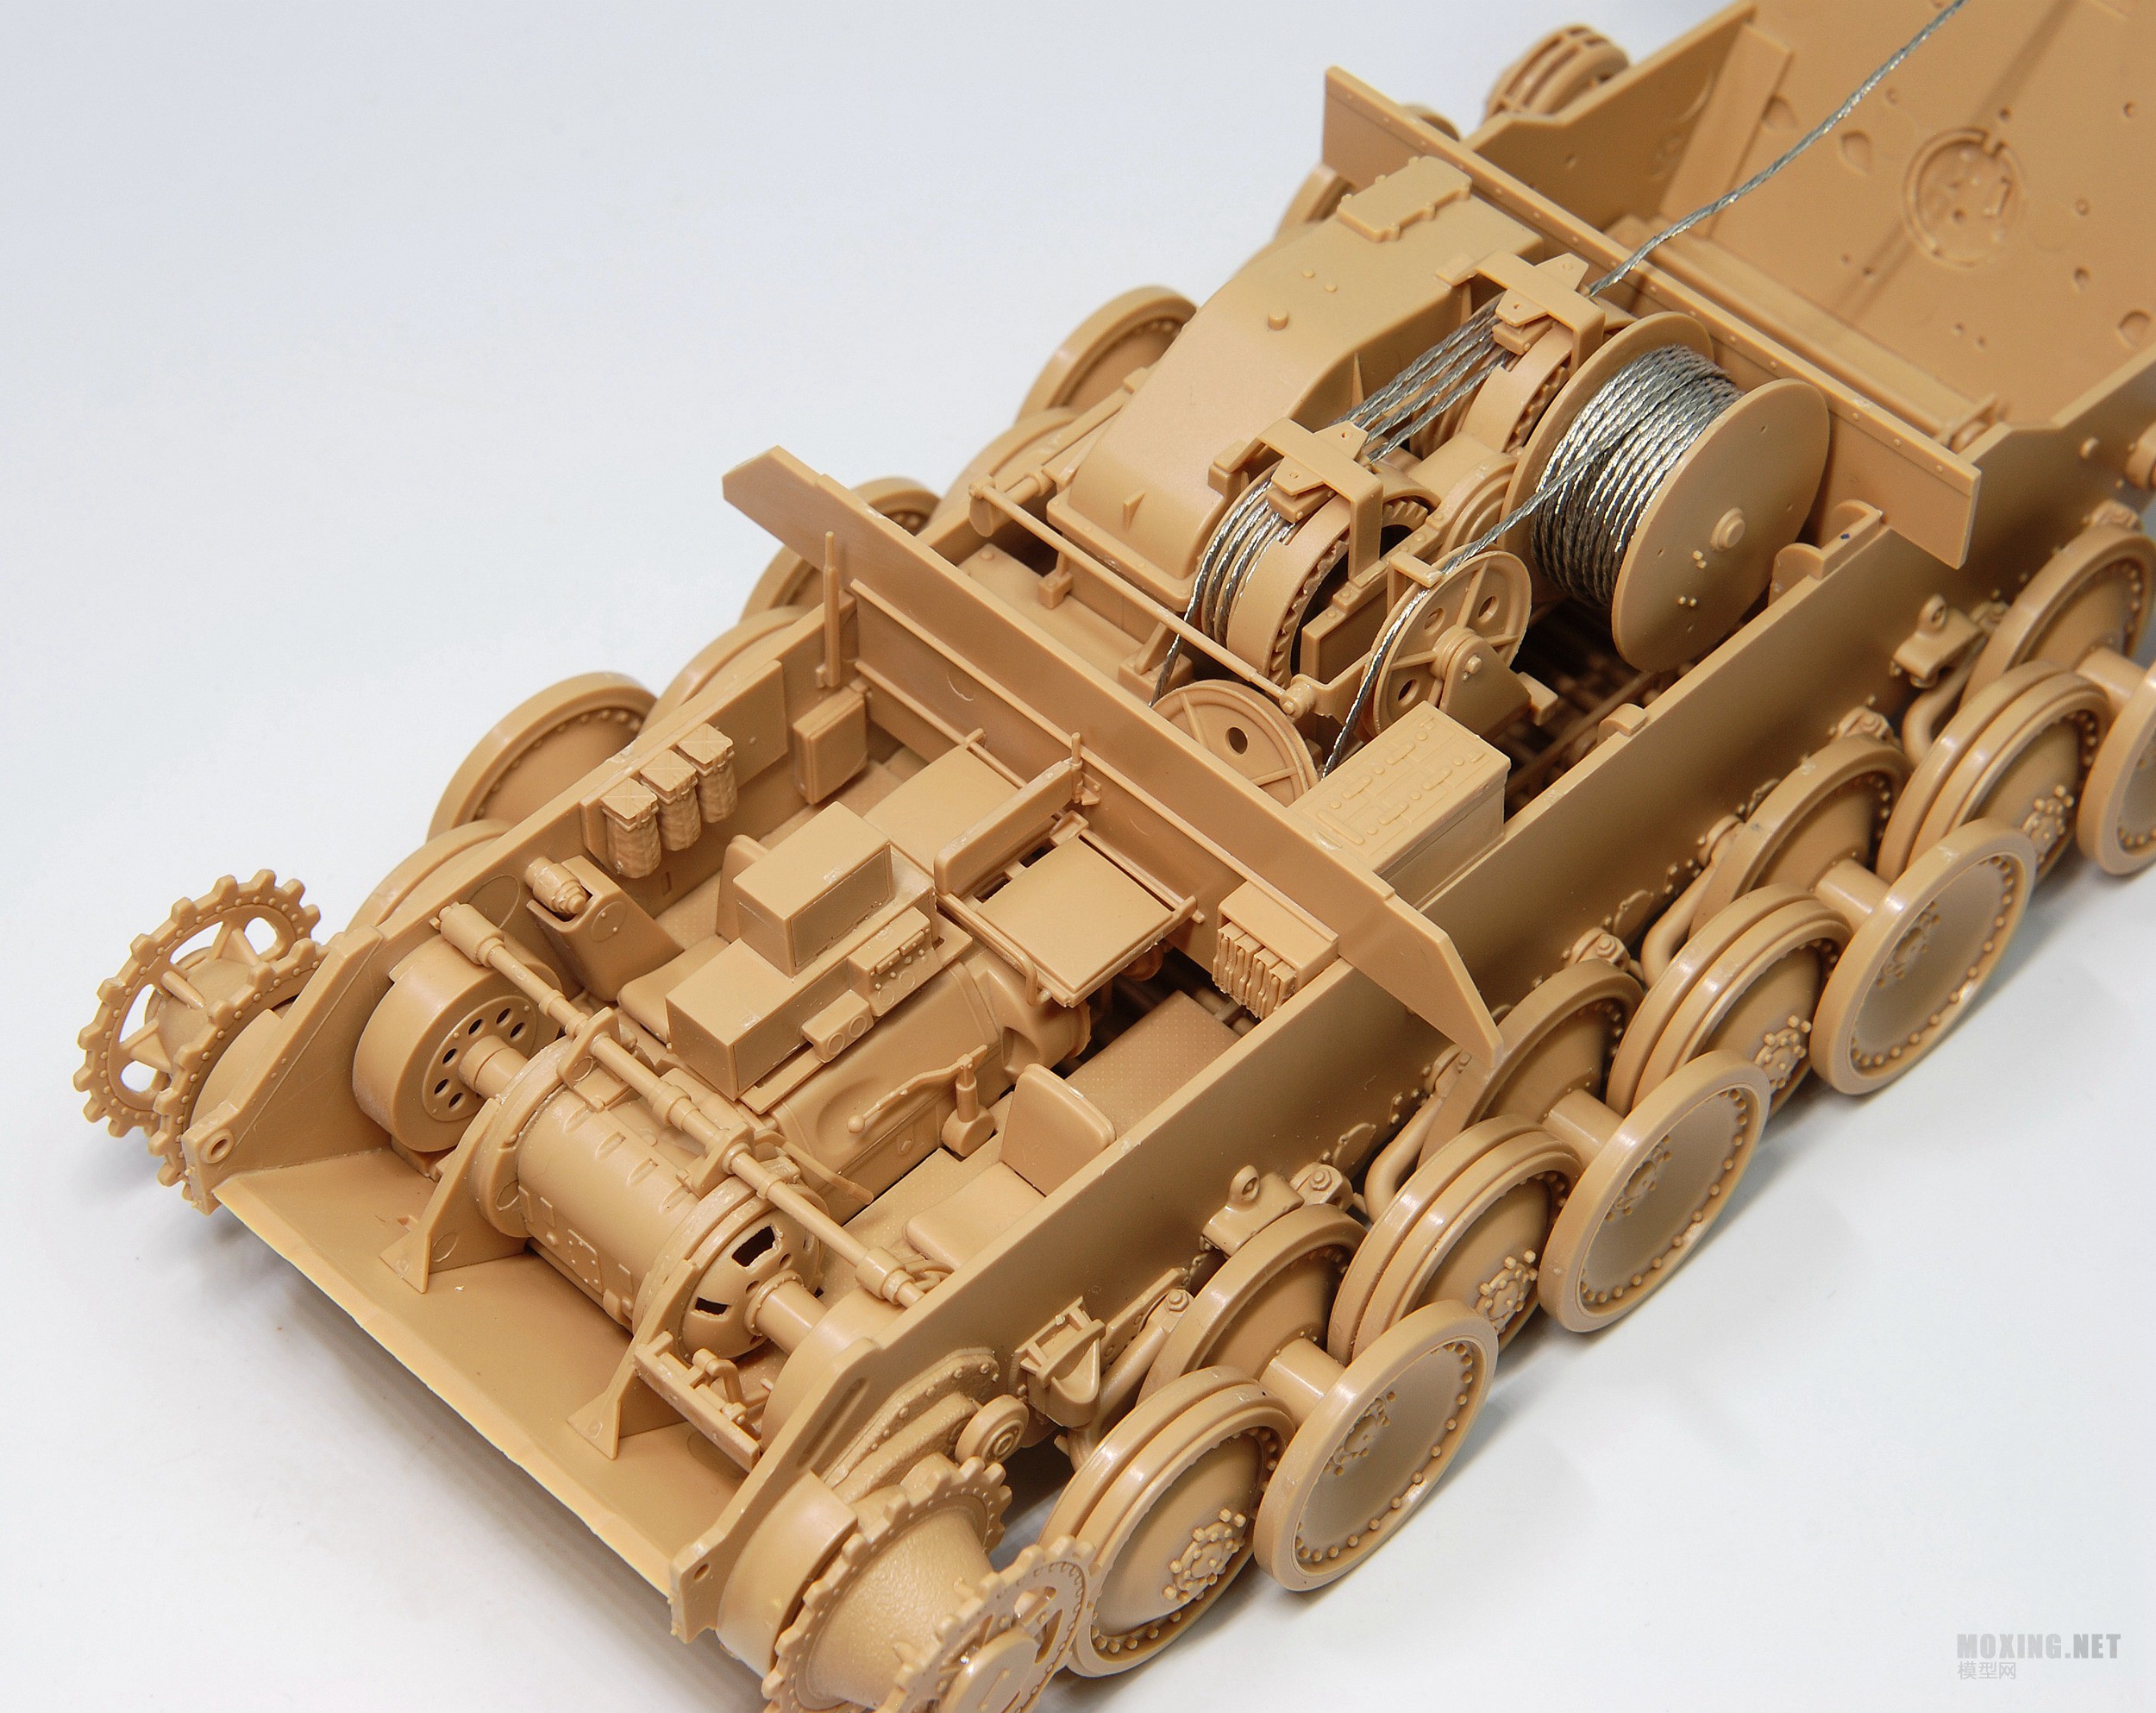
引擎散热器效果,这里还没有安装防爆网。

发动机舱盖。

车身工具细节车体左侧的车载工具安装完成,车载工具这部分可以选择A或者B型样式作,这里选择了A型的样式,注意打孔时不要打错了。


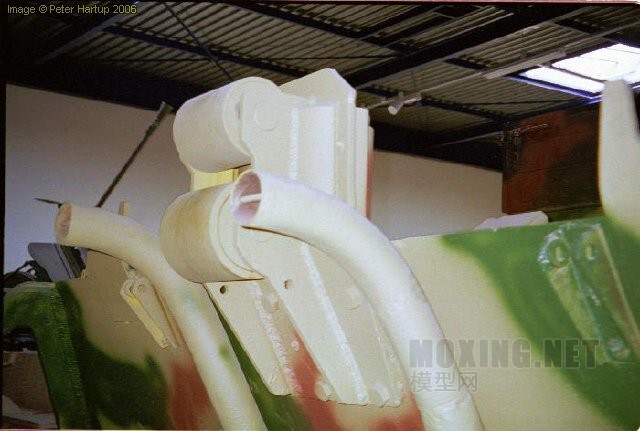
实车工具固定扣照片

模型里的固定扣也很好地还原这一细节,大小比例也适中。

车首效果,主机枪座组合后水口比较大,需要打磨处理。

车尾钢缆滑轮组实车细节照片

模型这个位置表现也准确到位

KWK38机炮
炮口有镂空,防盾是用蚀刻片表现,但具体弯折角度说明书并没提及。

高射机枪
镂空子弹袋和子弹链细节很不错。

上车体部分组合完成
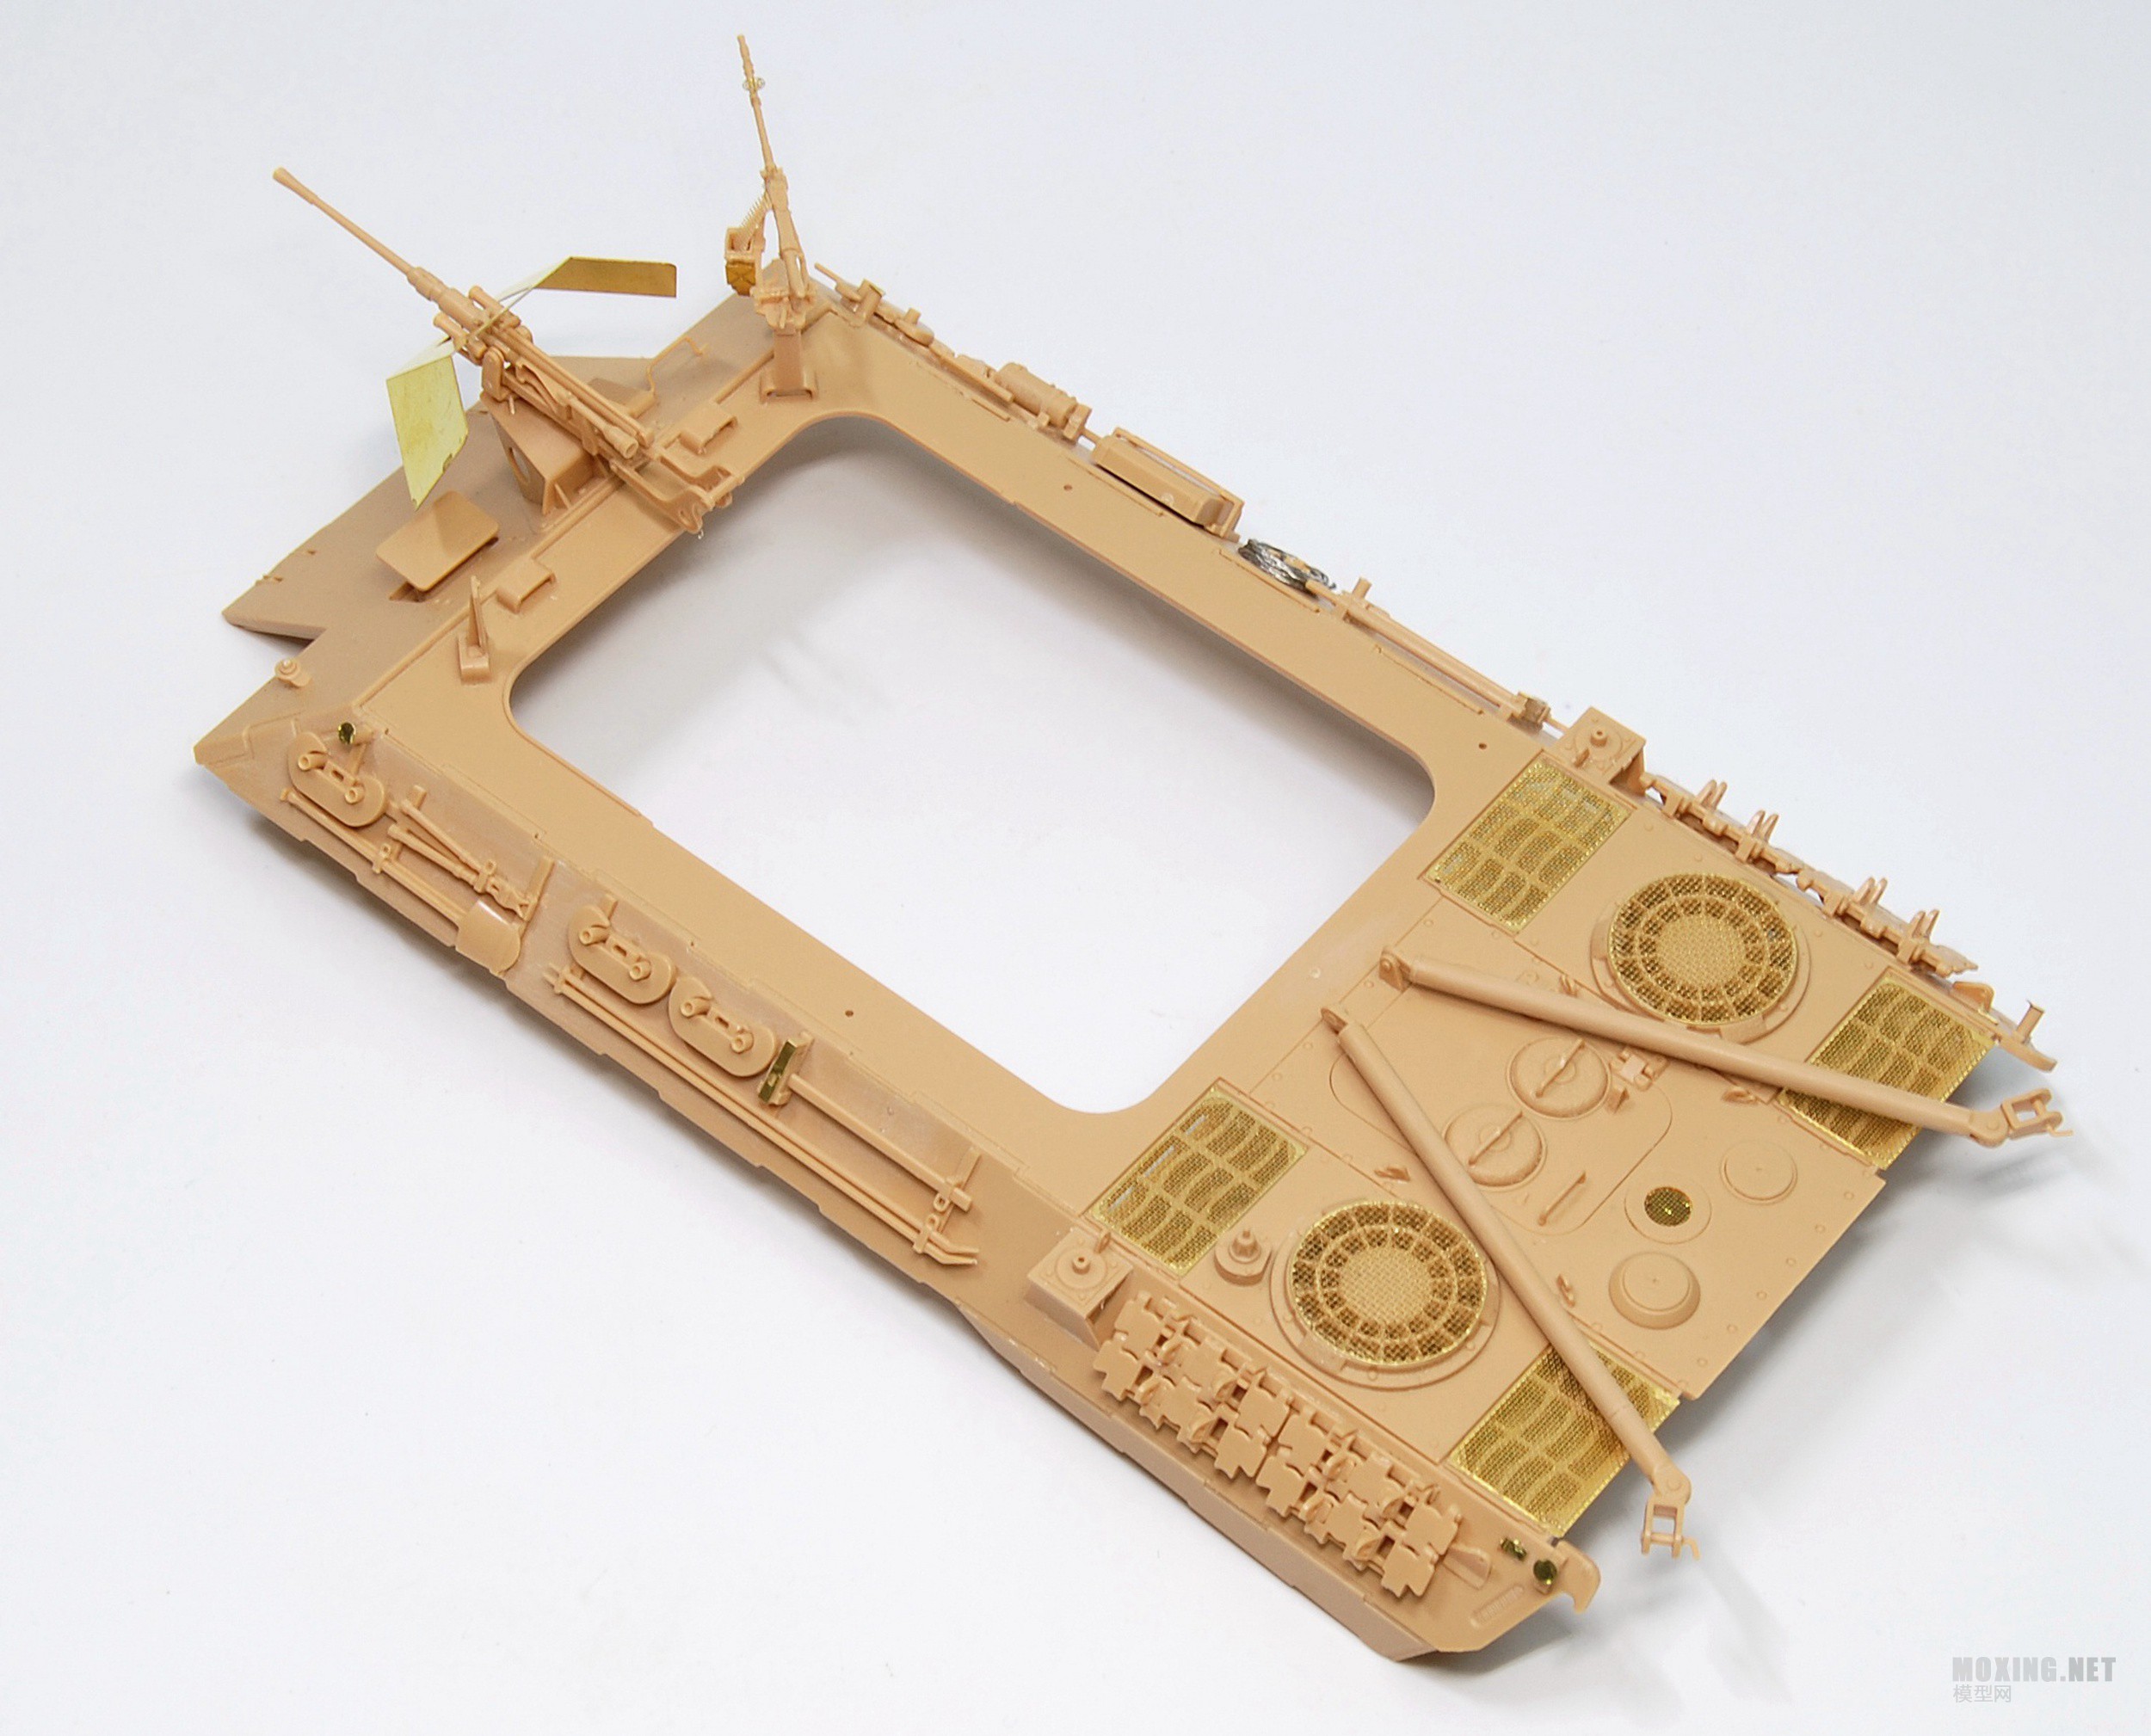
另一角度

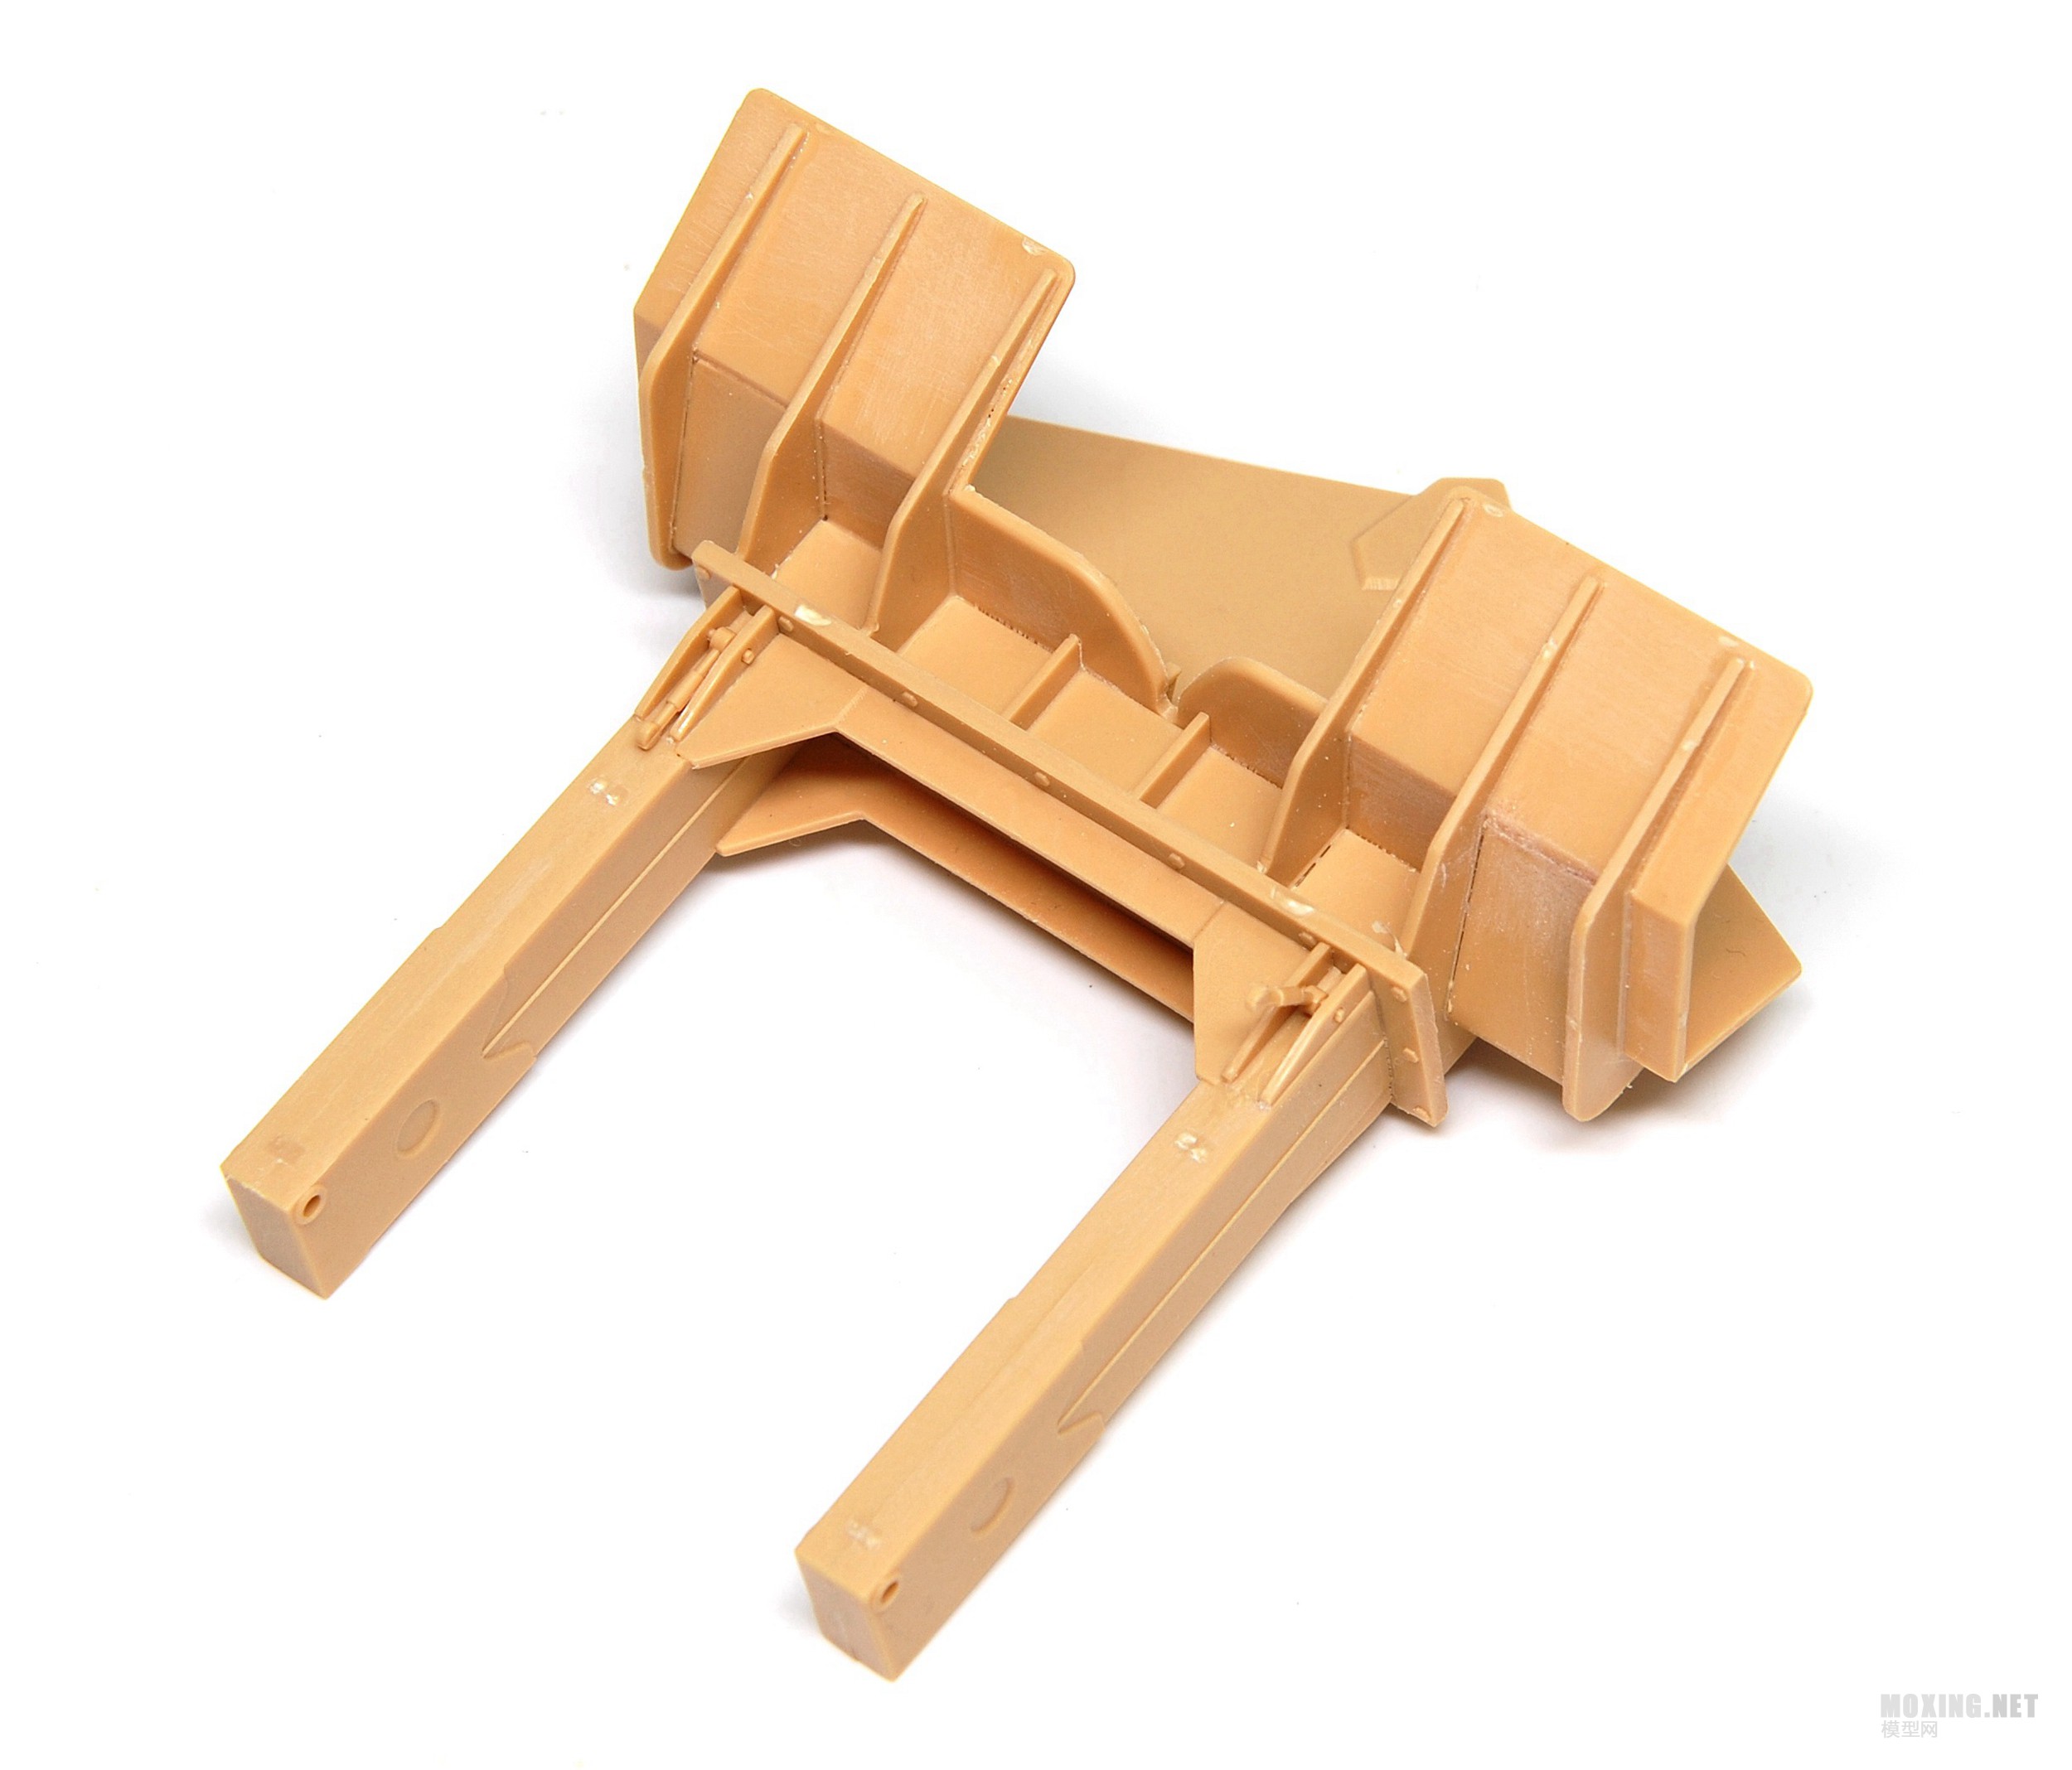
驻锄
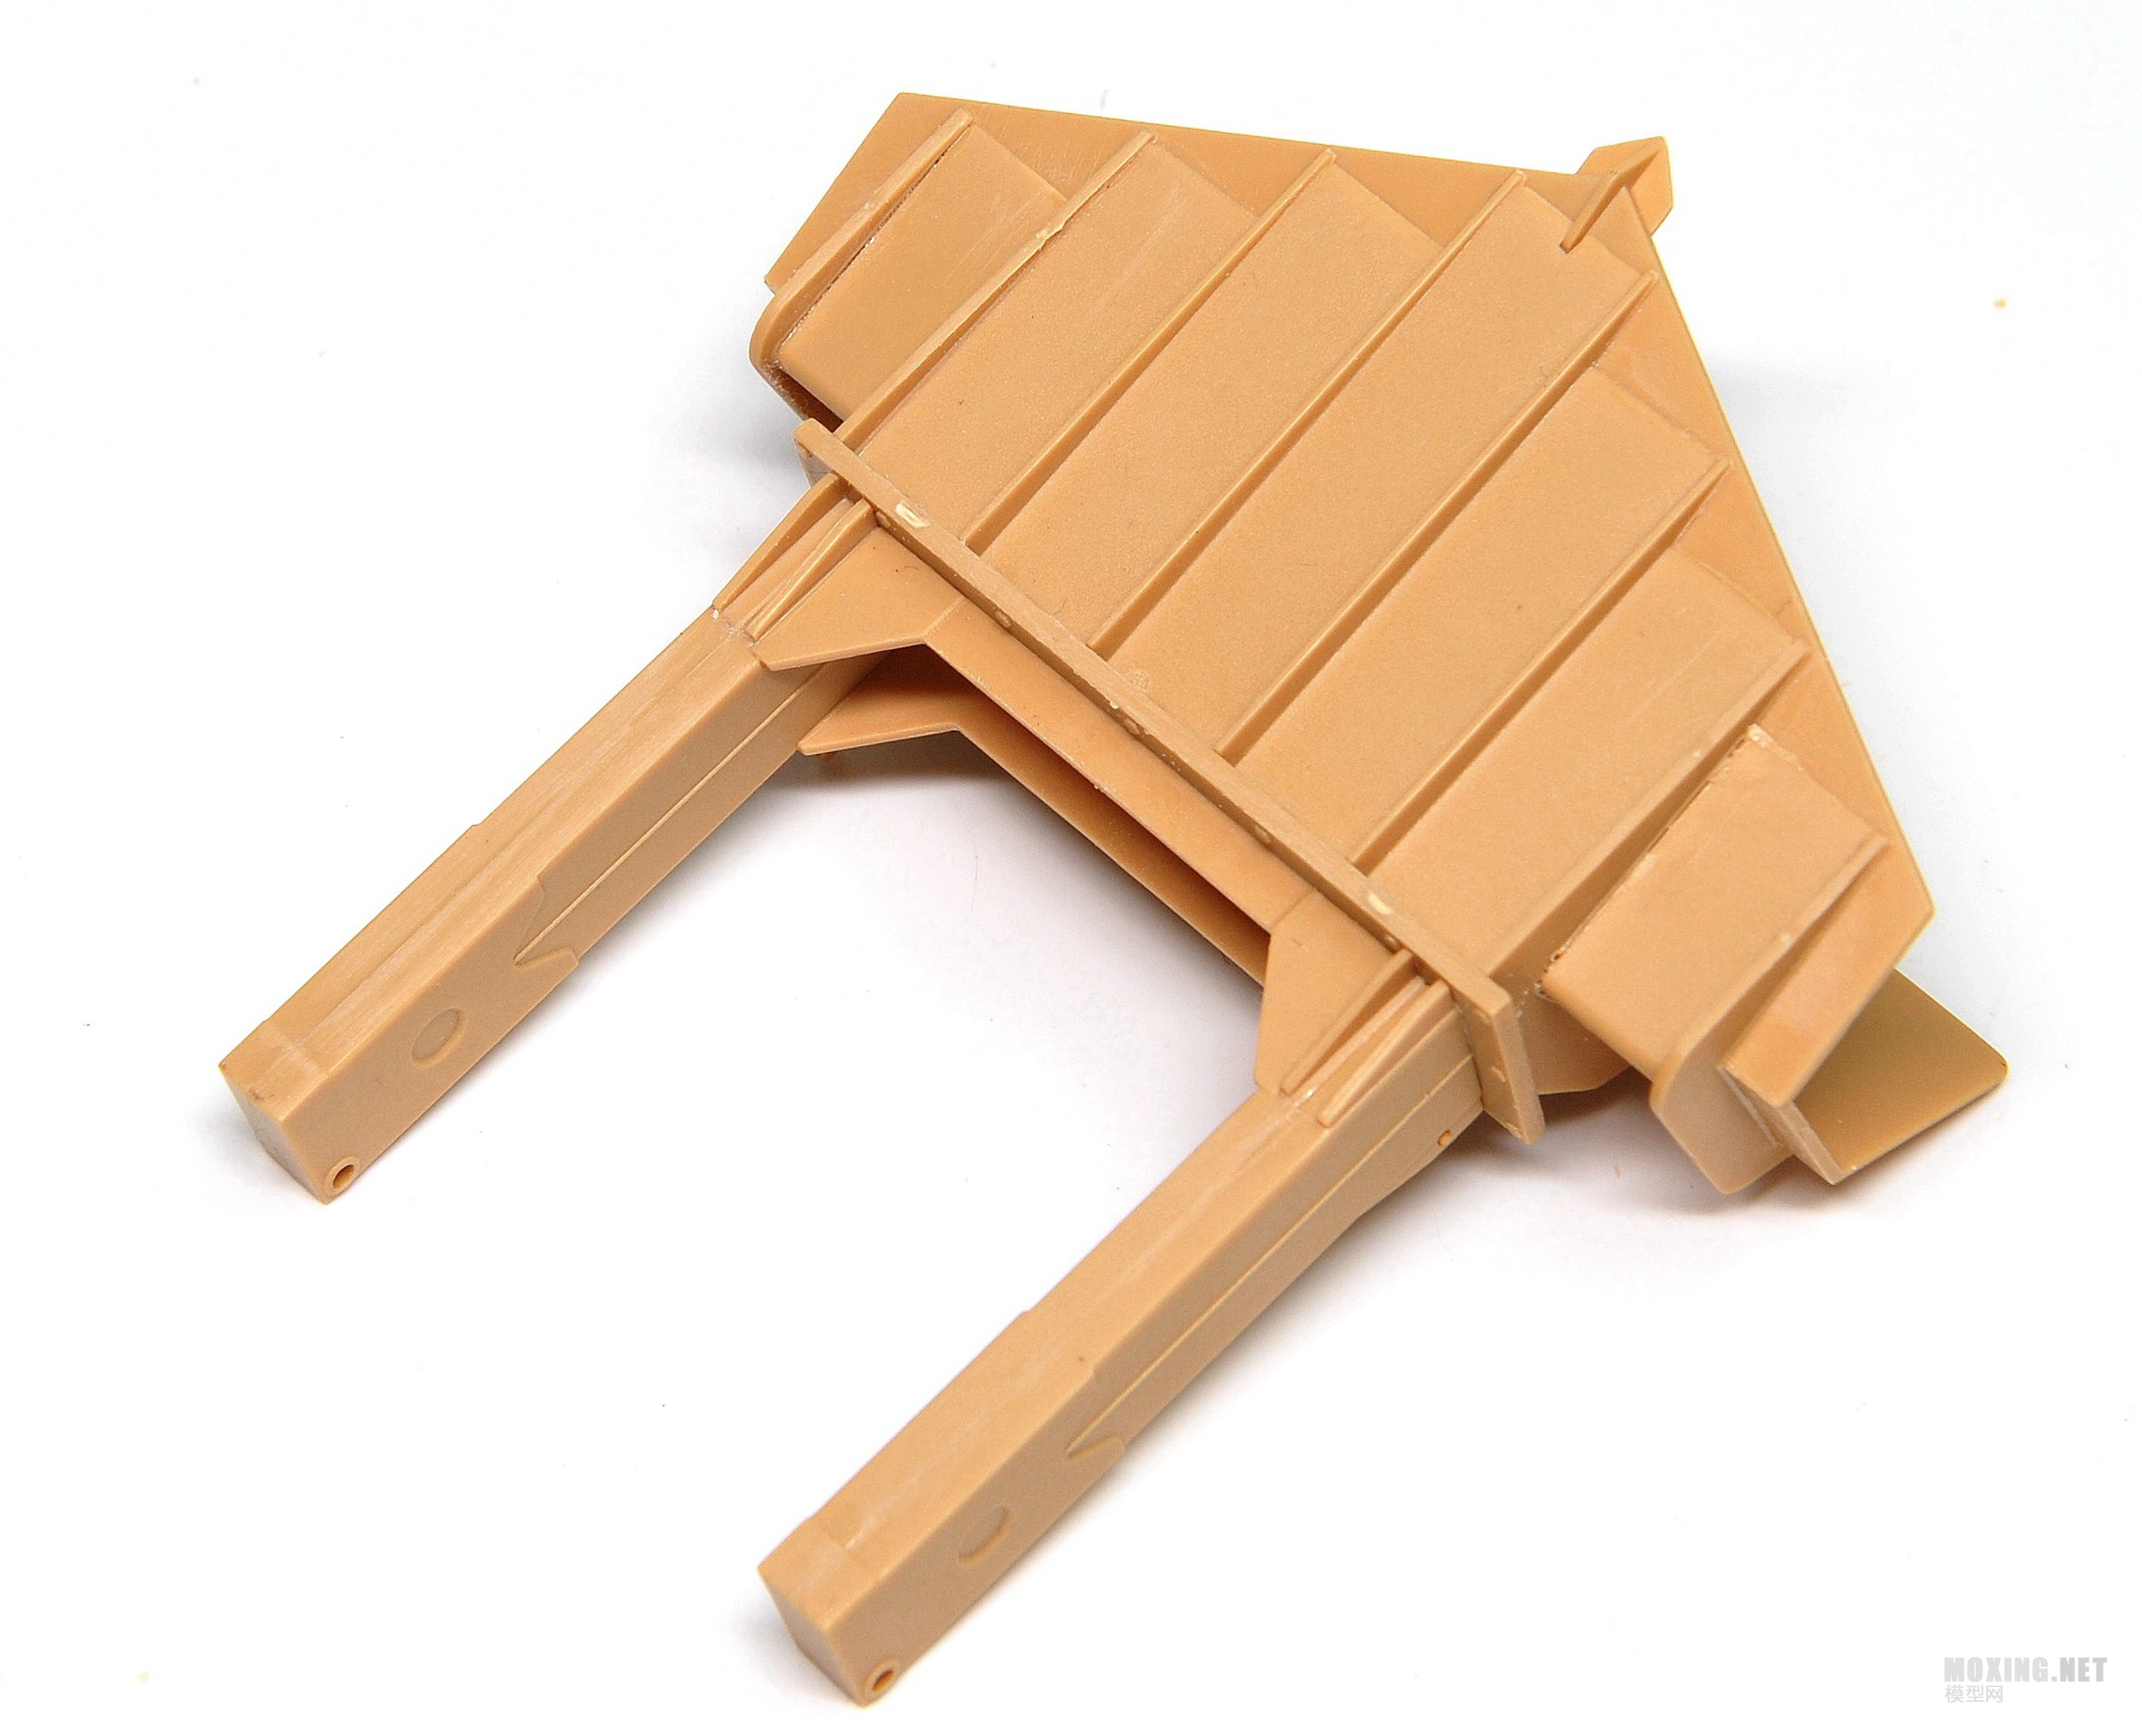
这里用到的零件比较多,水口也比较粗壮。
左右翼子板

两侧翼子板上有一些工具箱细节。

履带制作完成,这个算是全车耗时最多的零件了,基本上履带齿水口每一个都要慢慢修,图片上比较大的零件是辅助履带做成下垂效果工具,说明书并没提及,各位玩家可以参考一下。

合上车体上部,到此基本车体已经成型了

内部效果,还是很不错的

吊机可以选择左右安装。

车体上部的维修舱完成展示
为了更好展示驾驶舱内构,这里的遮阳帘选择制作成折叠模式
这里的跳板挂扣,锁链等都是用蚀刻片表现,零件非常细小,切割时要注意不要遗失,因为没有多余的。

打开状态。内侧有些储物箱的细节。

| 暂无 | 暂无 | 暂无 |
 已有
已有


![[模型网评测]MENG(WWT-011)- Q版 德国38(t) 轻型坦克](/bbs/data/attachment/forum/201809/06/thumb_210_140_231906denzooo99njoonkg.jpg)
![[模型网评测]MENG(SS-015)-1/35德国 救援豹A型 装甲救援车 更新制作过程](/bbs/data/attachment/forum/201809/05/thumb_210_140_213146vq2snlzzzllpqozx.jpg)
![[模型网评测]MENG(SS-014)-1/35俄罗斯9K37 M1](/bbs/data/attachment/forum/201808/03/thumb_210_140_121637zp9hiqgwh2lw9zu5.jpg)