
[模型网评测]长谷川(21154)-1/24 MINI COOPER 1.3i (1997)-制作过程3
发布时间:2023-03-05 作者:夏南 来源:本站原创 浏览次数:0 网友评论 0 条
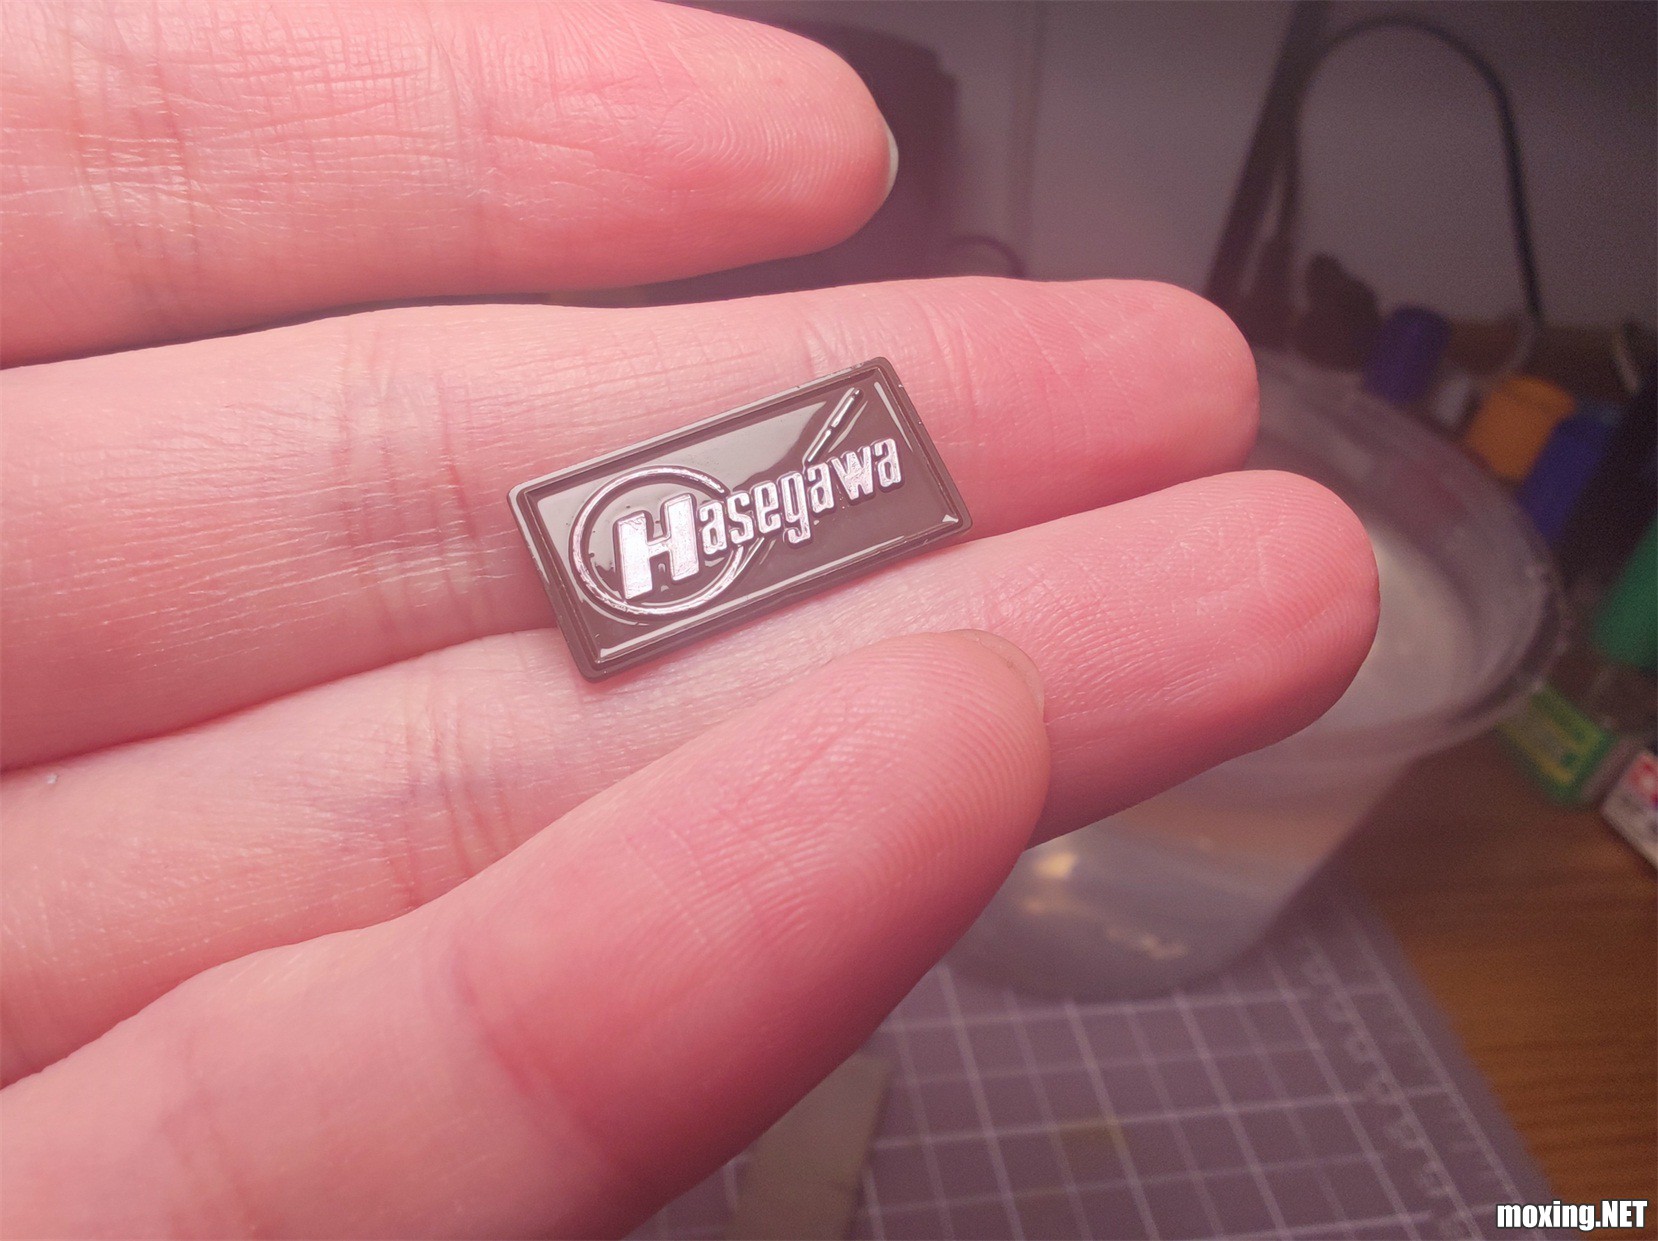
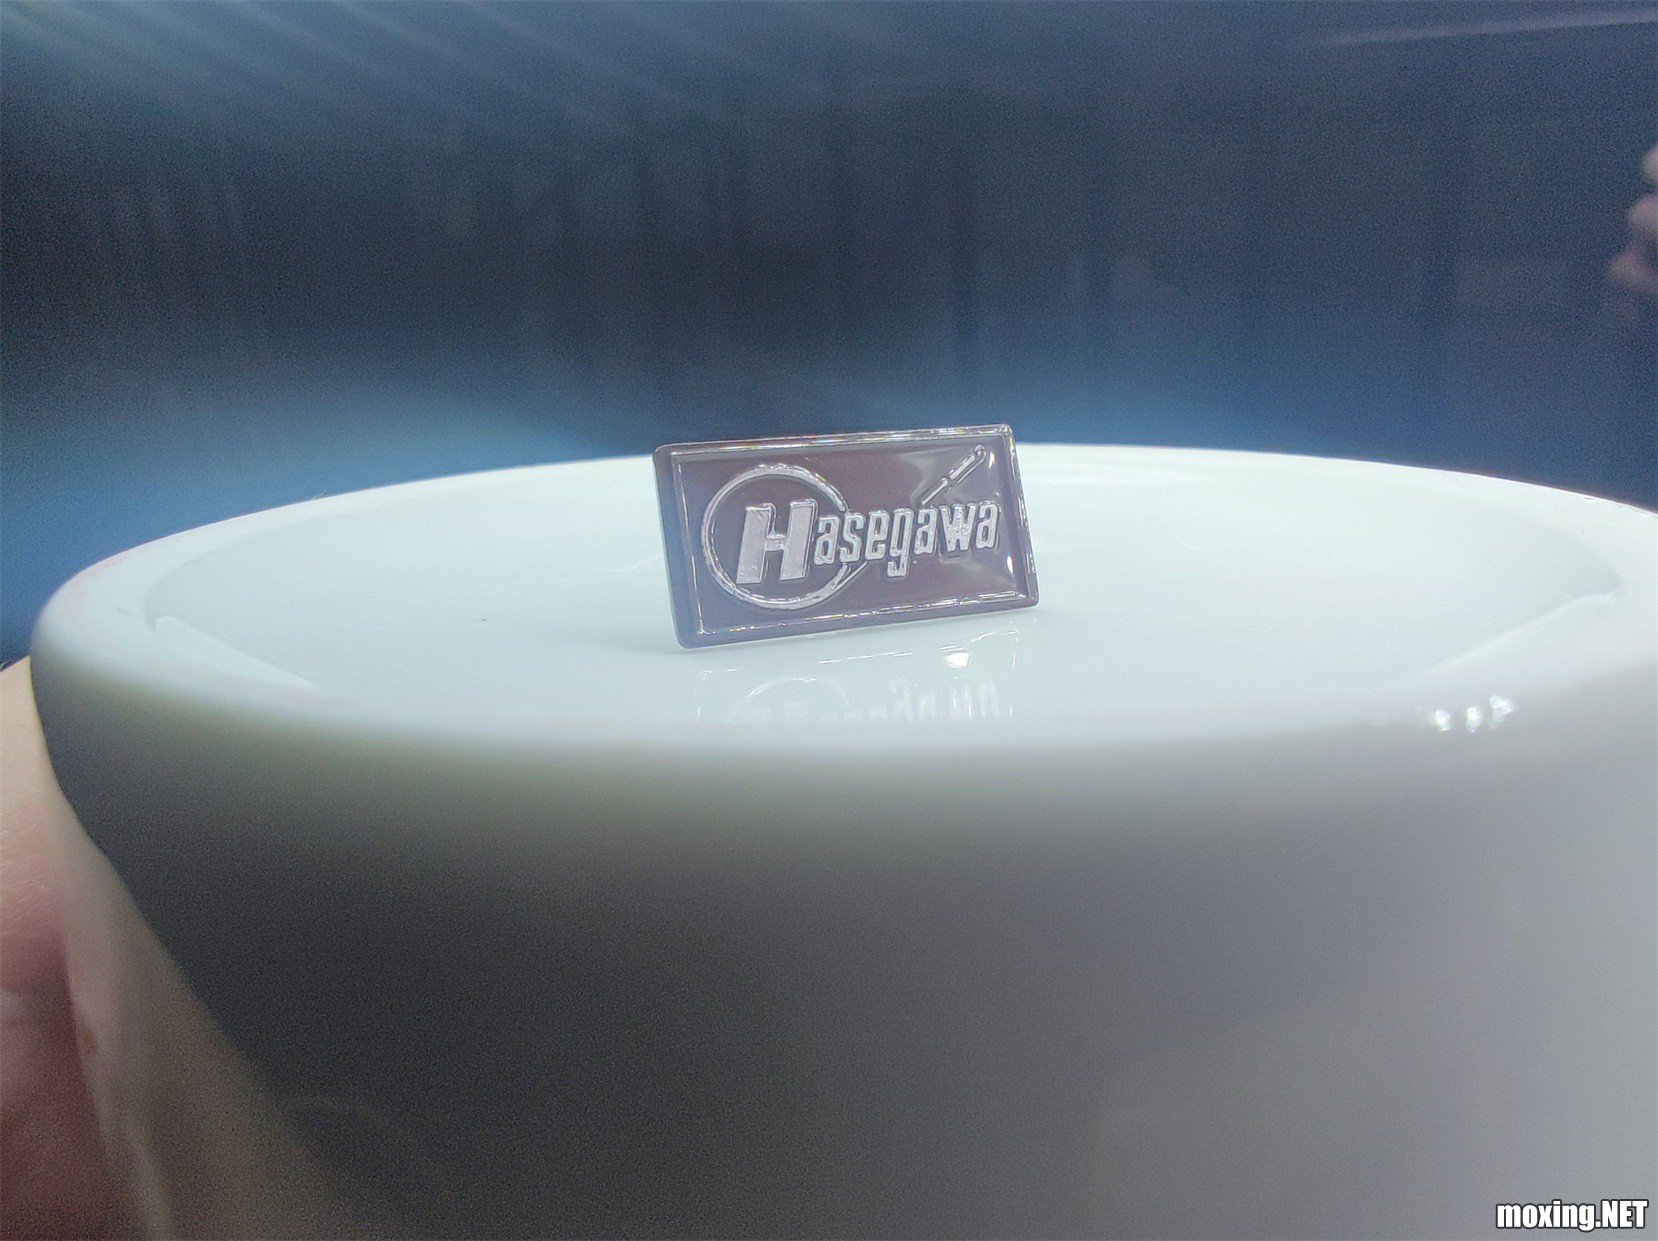
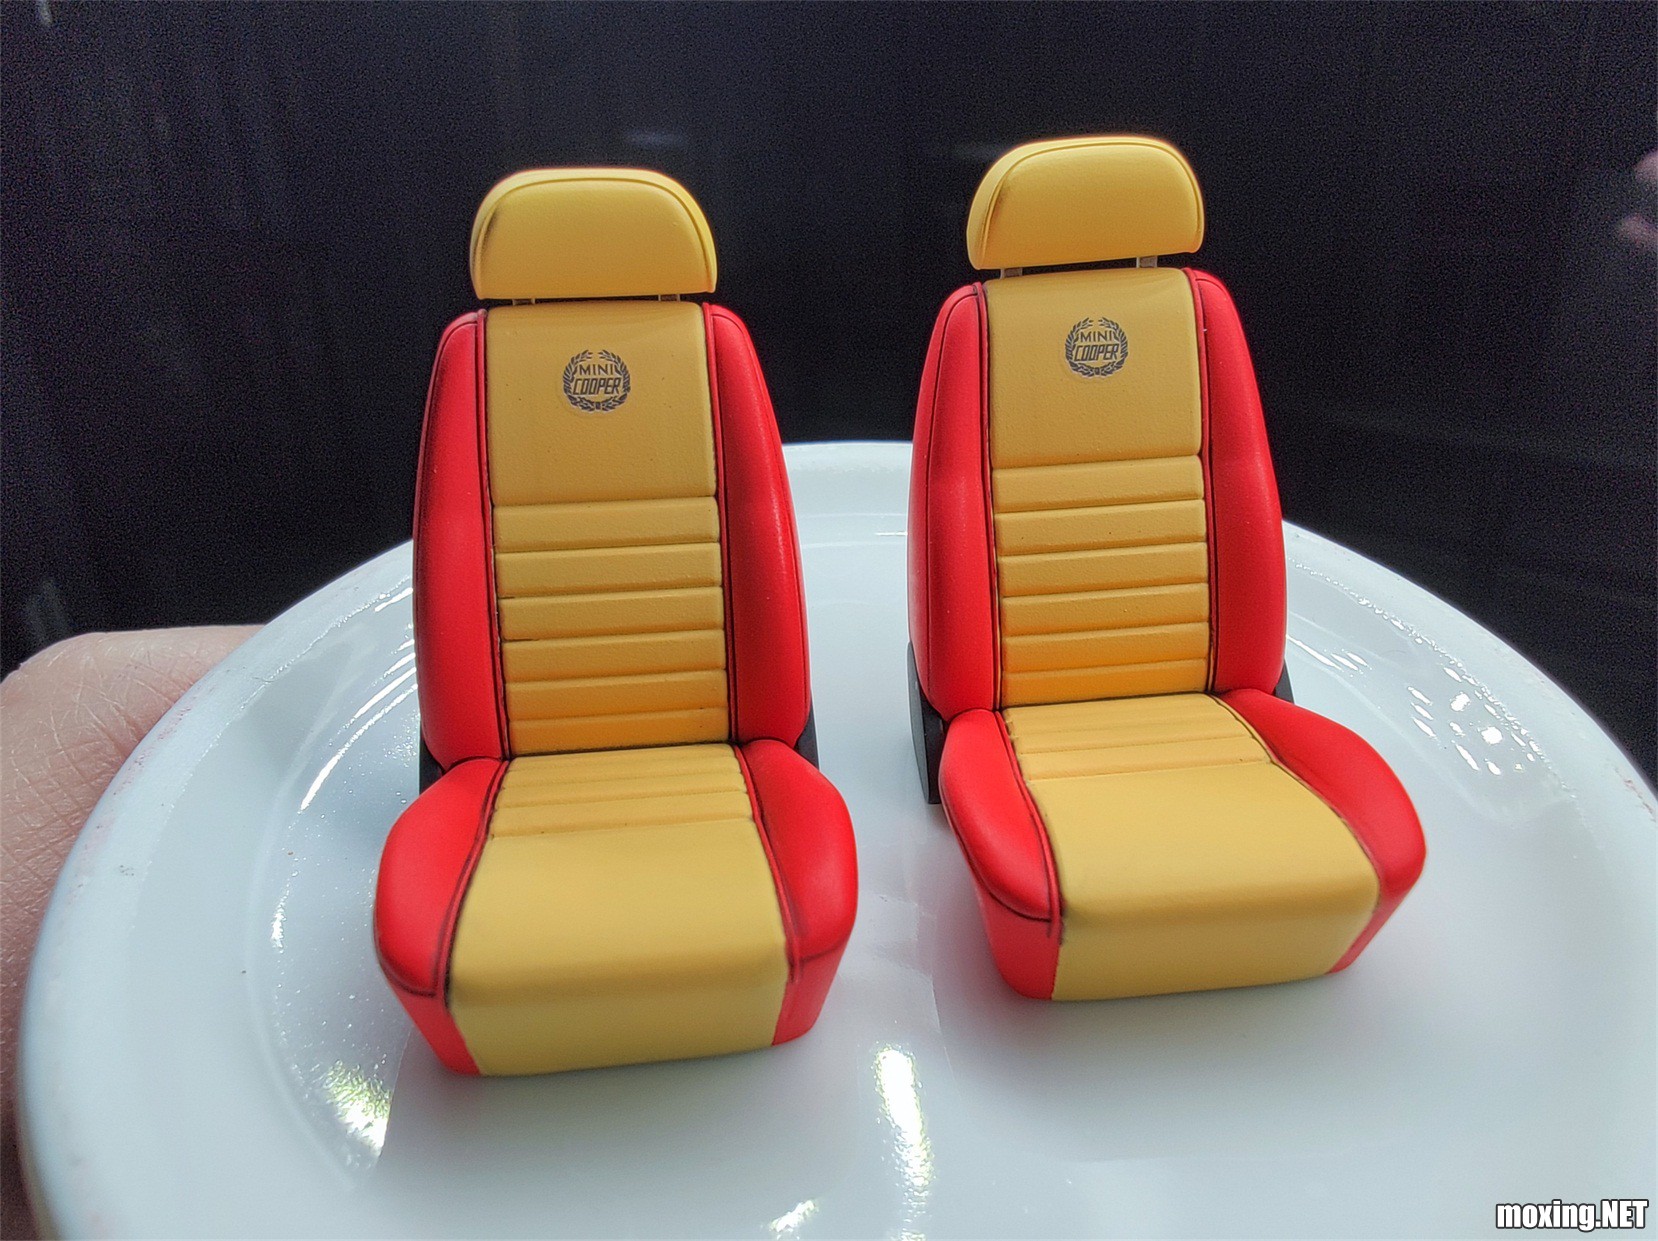
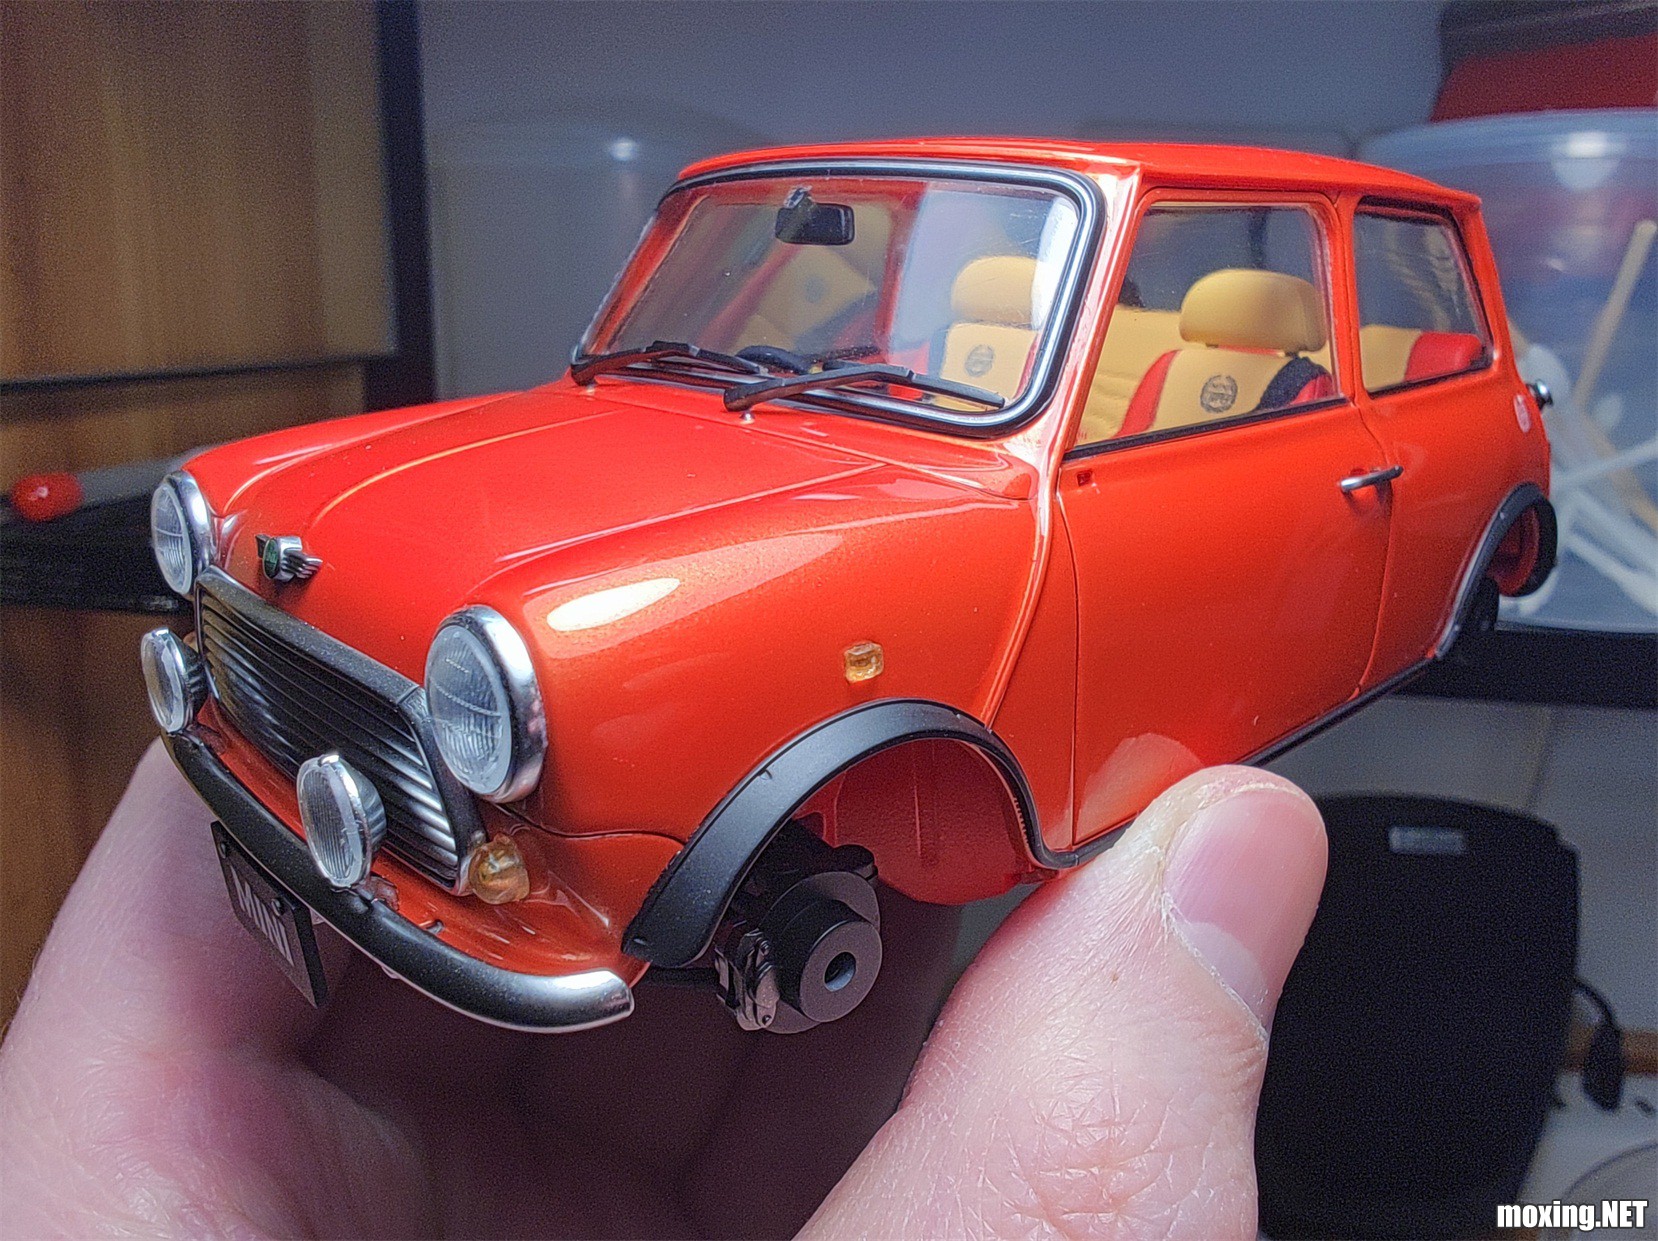
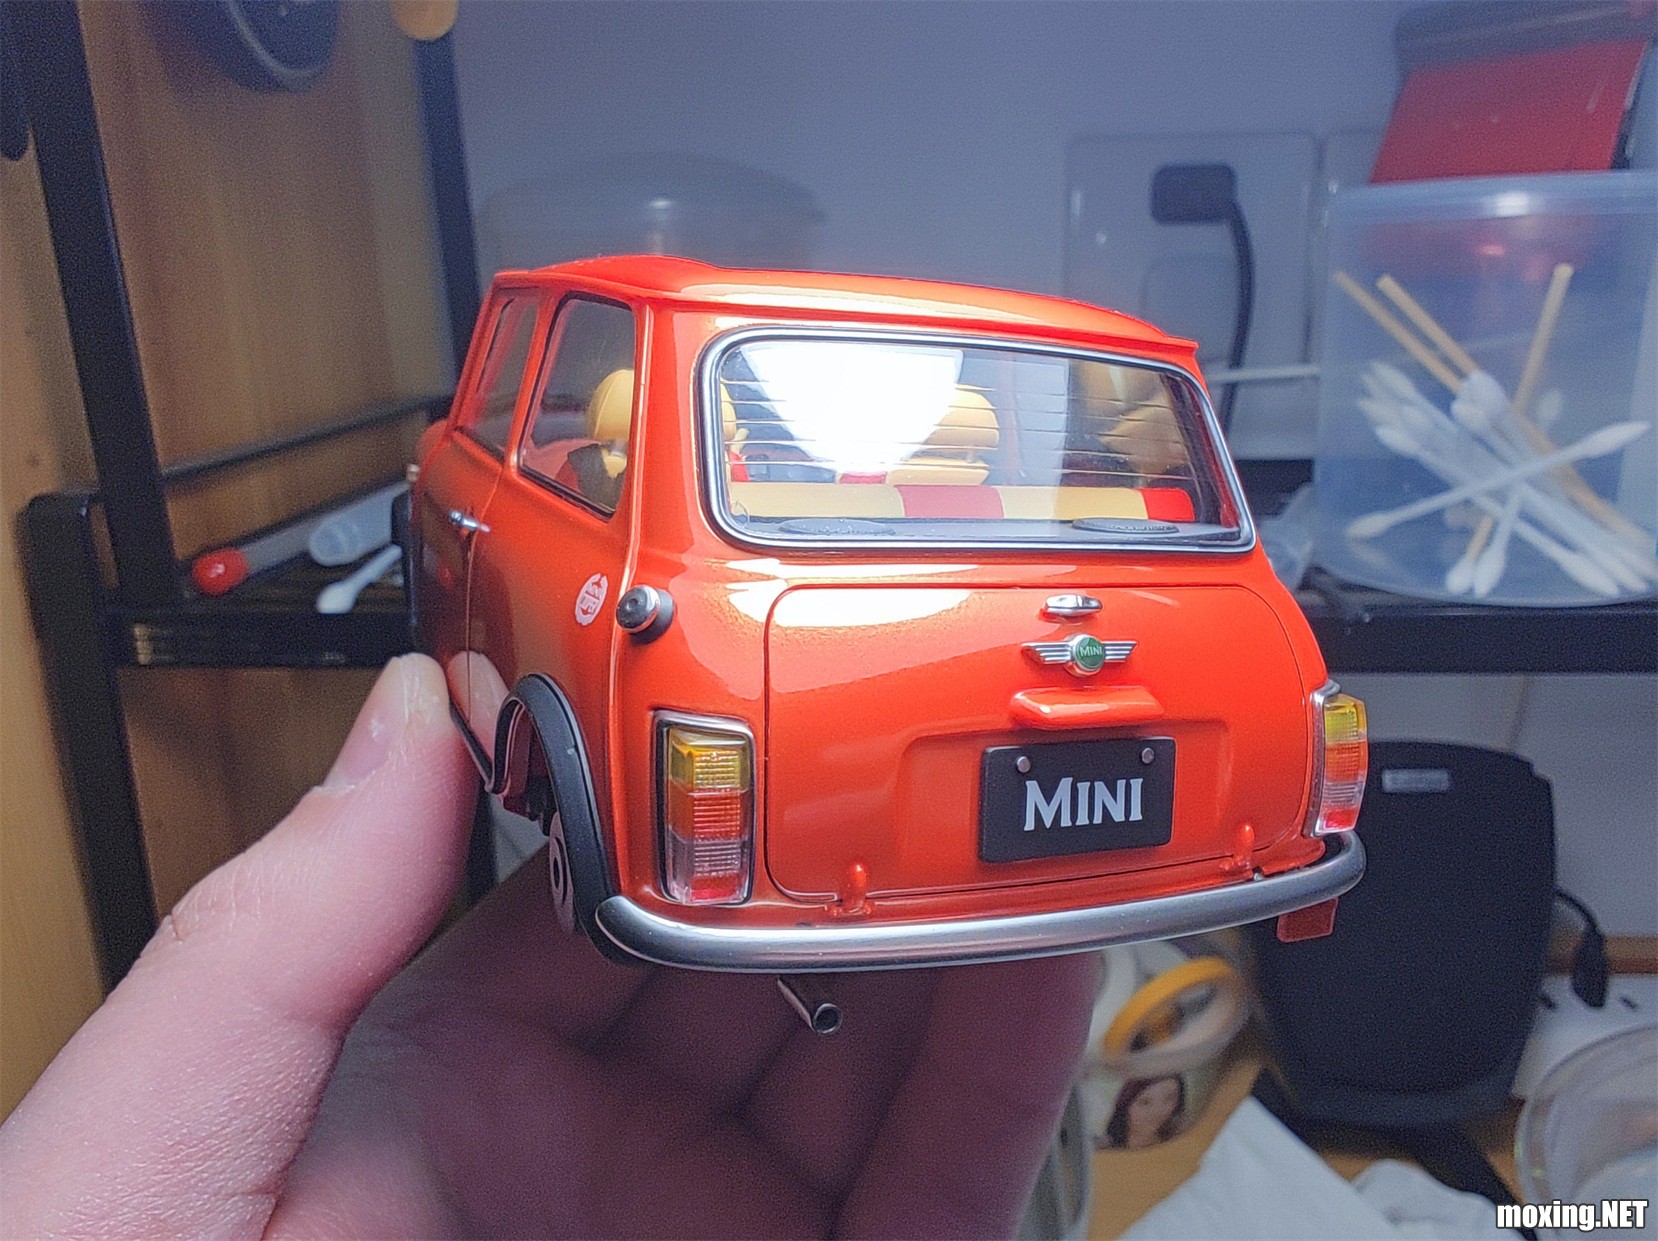
自带的LOGO也喷了一遍氨基光油。
这次的银字棕底没选好,或者说这个LOGO的开模精度不太行。
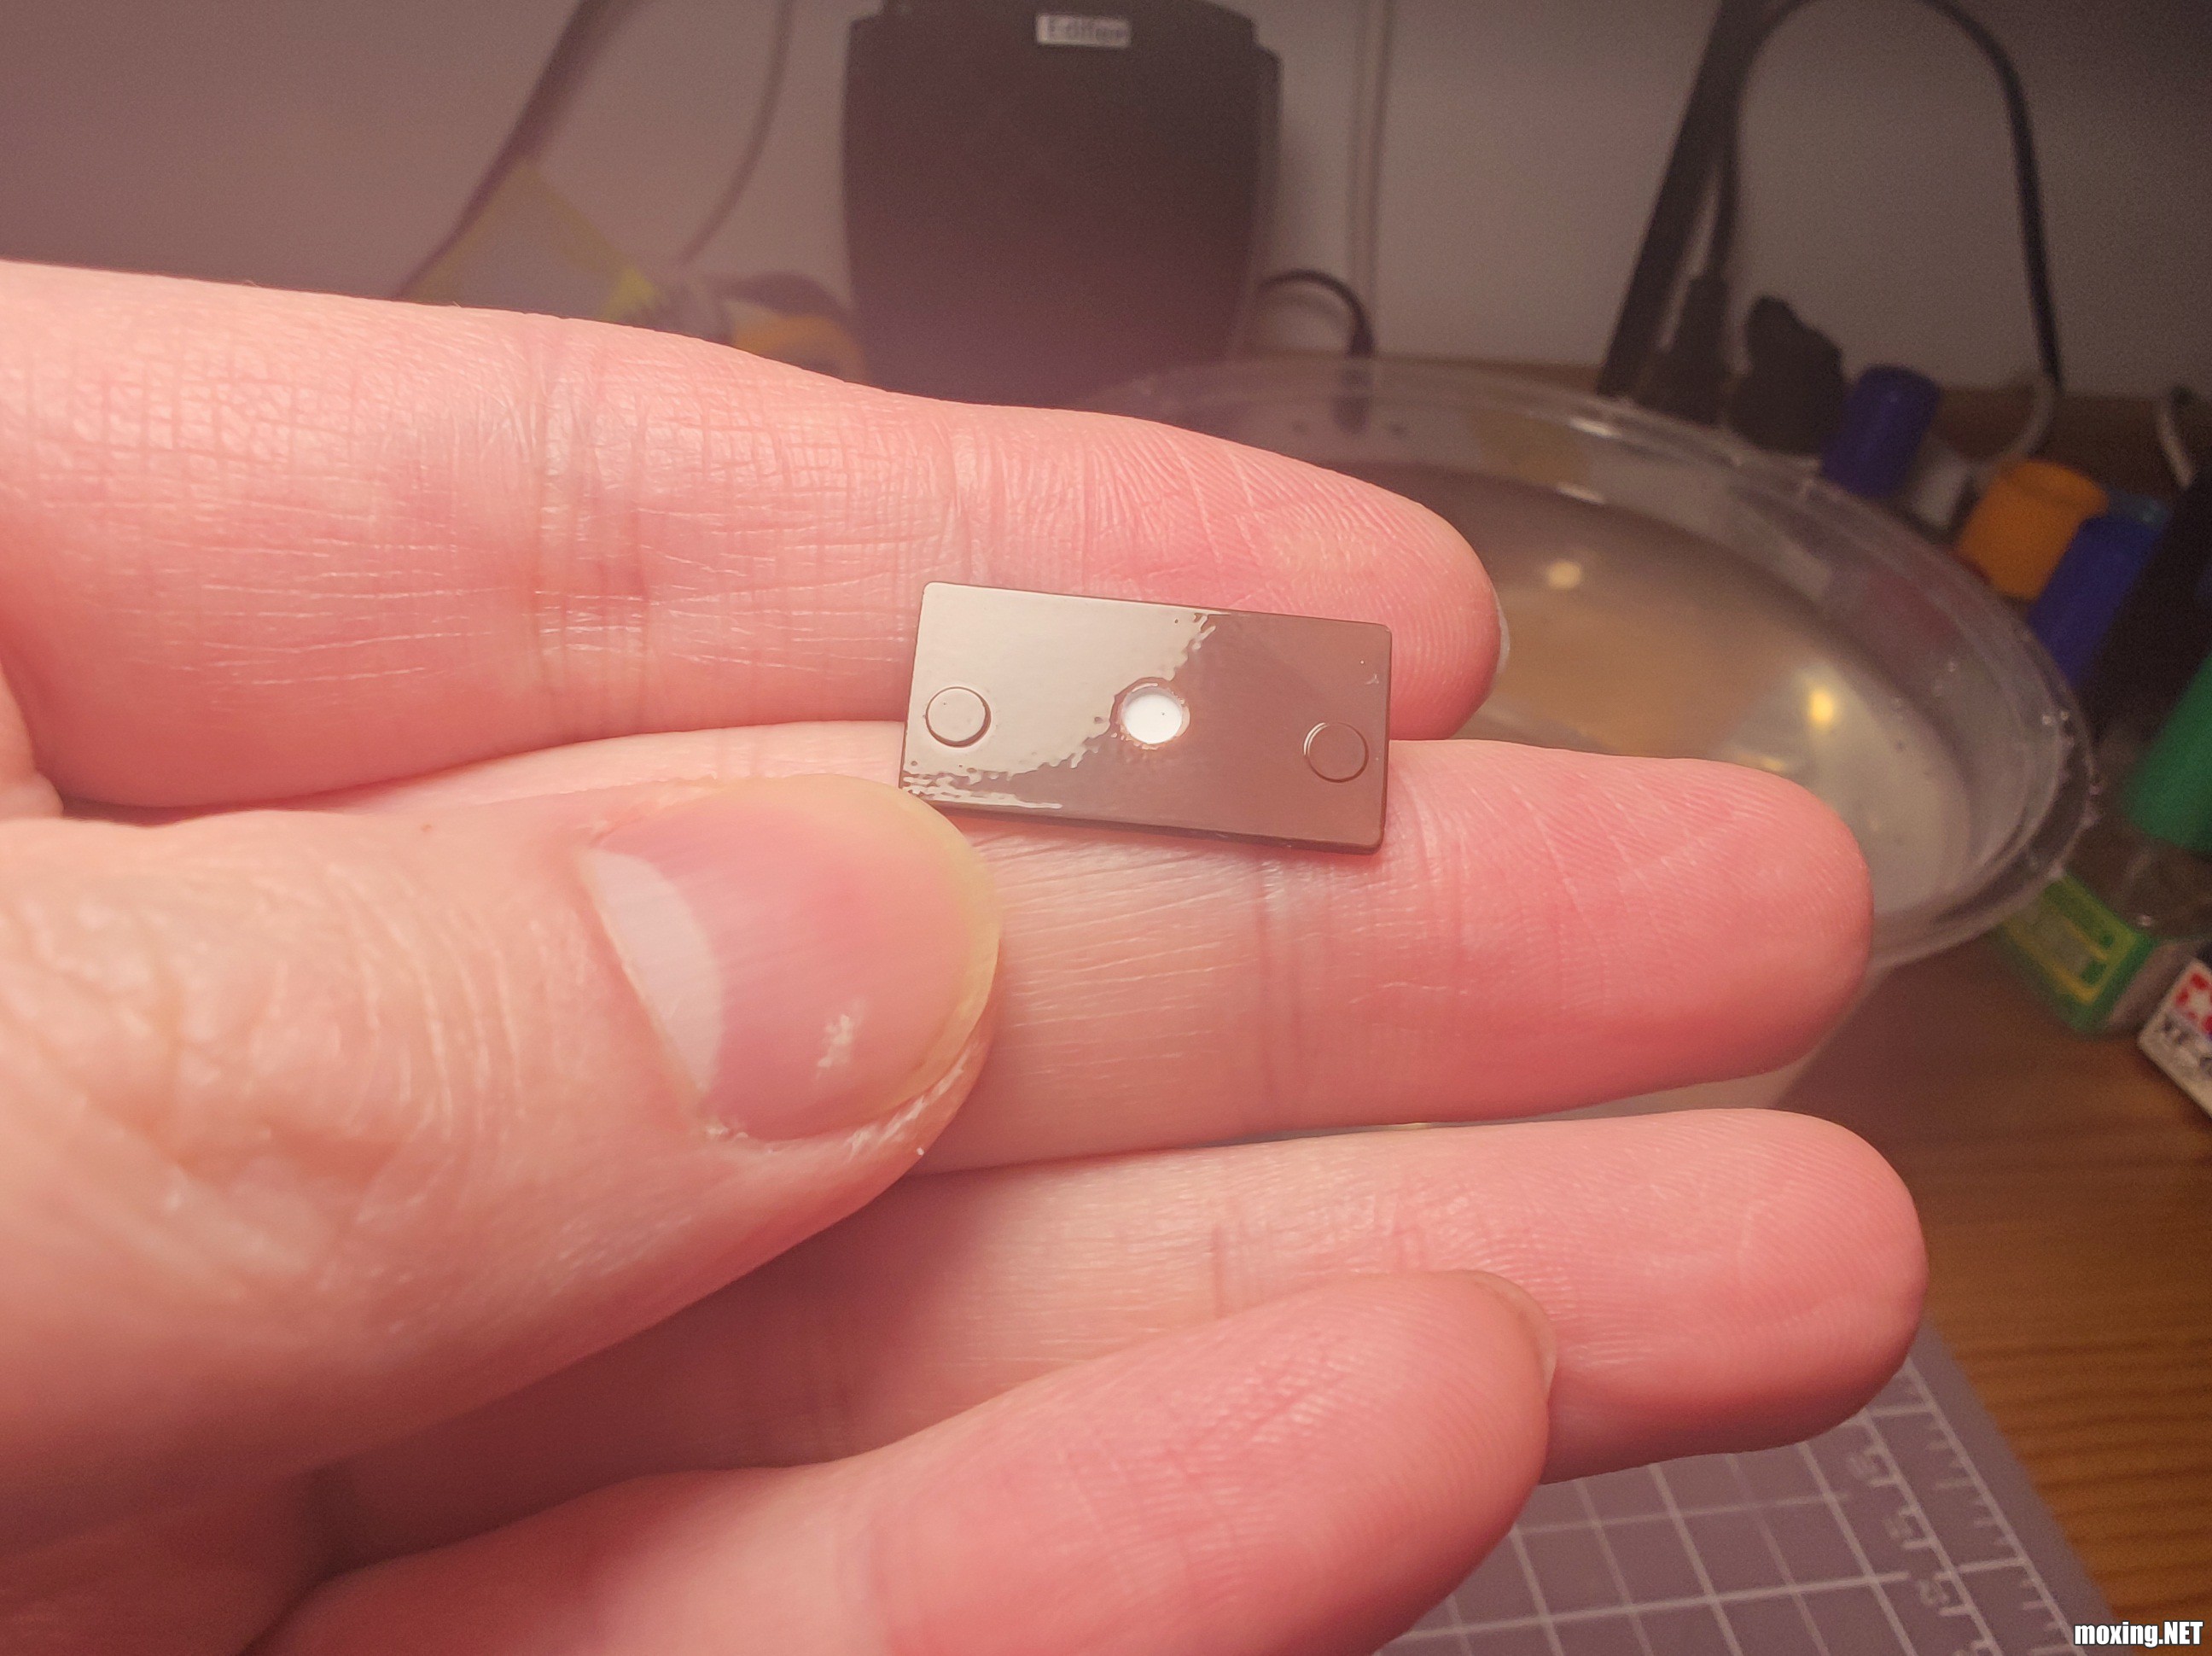
背面刚好有个推出孔,用透明流道加热软化,做一个简易支架。

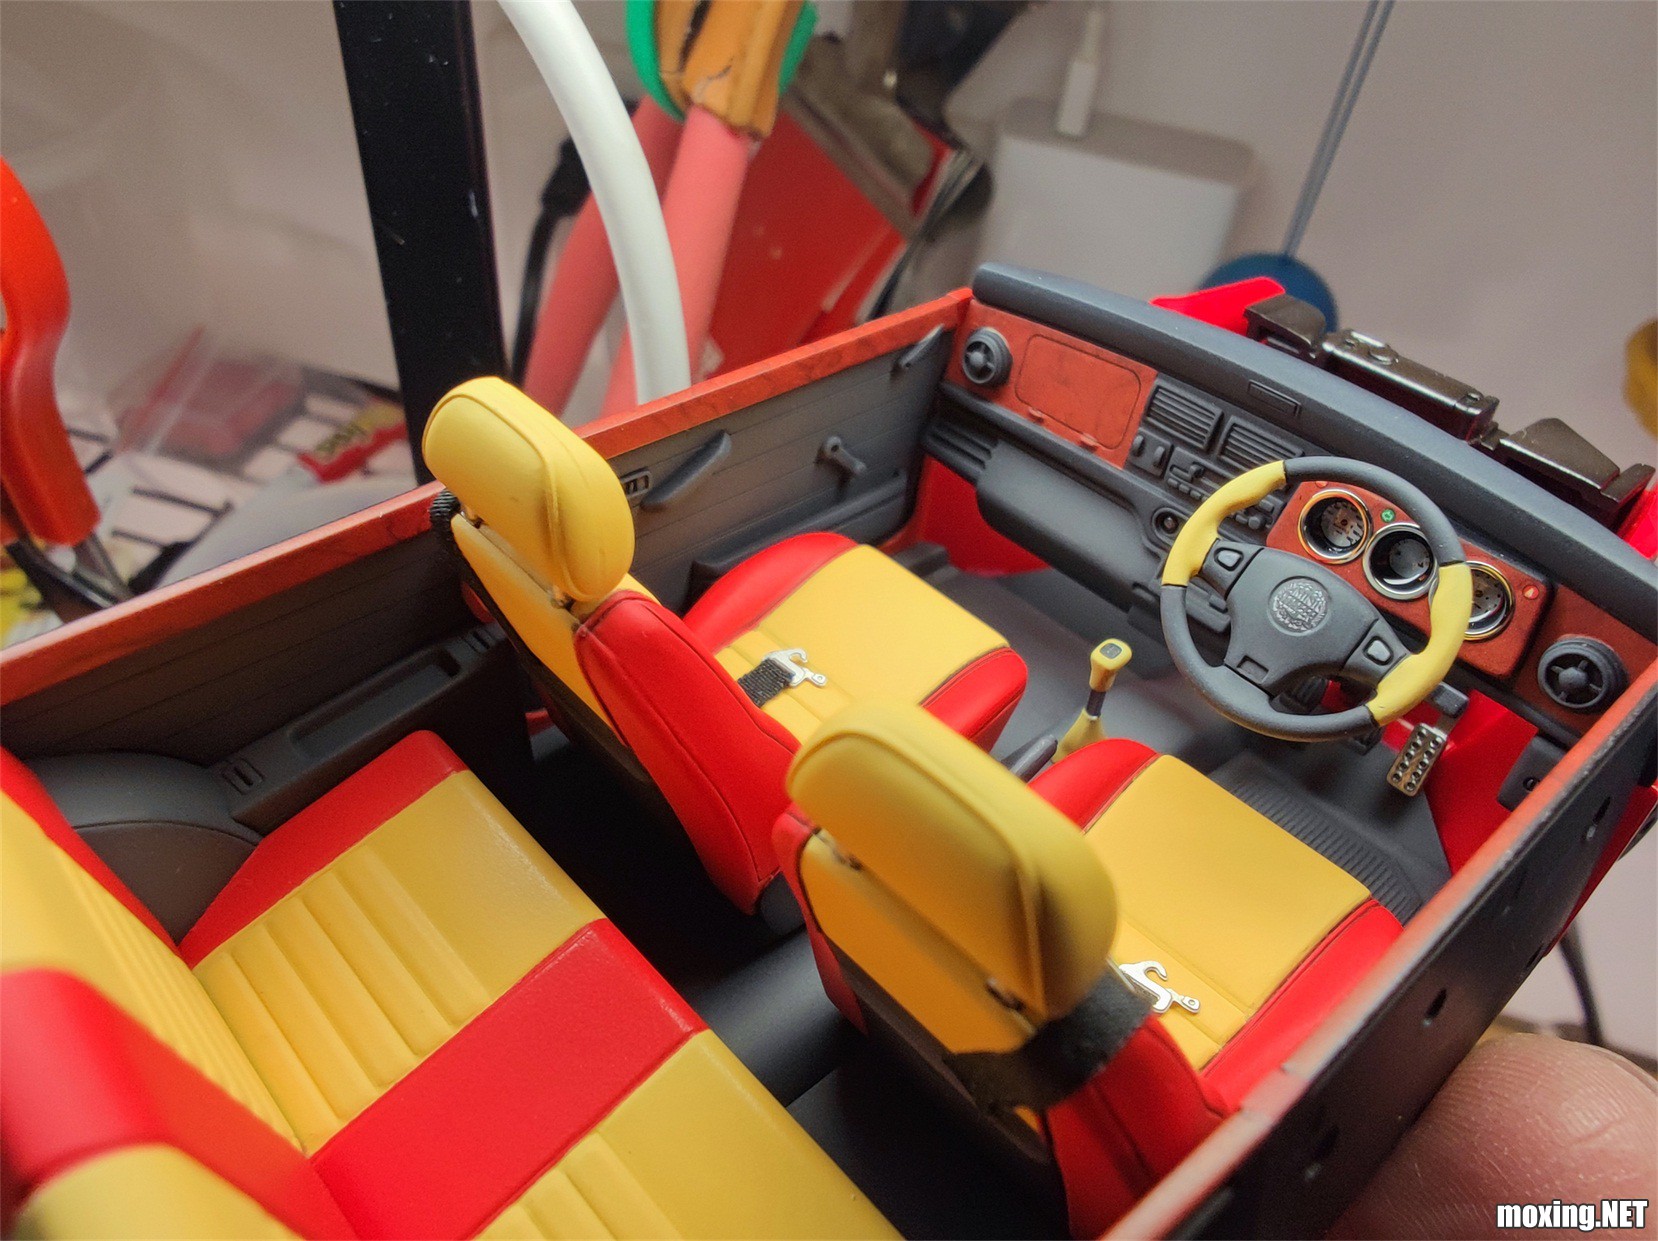
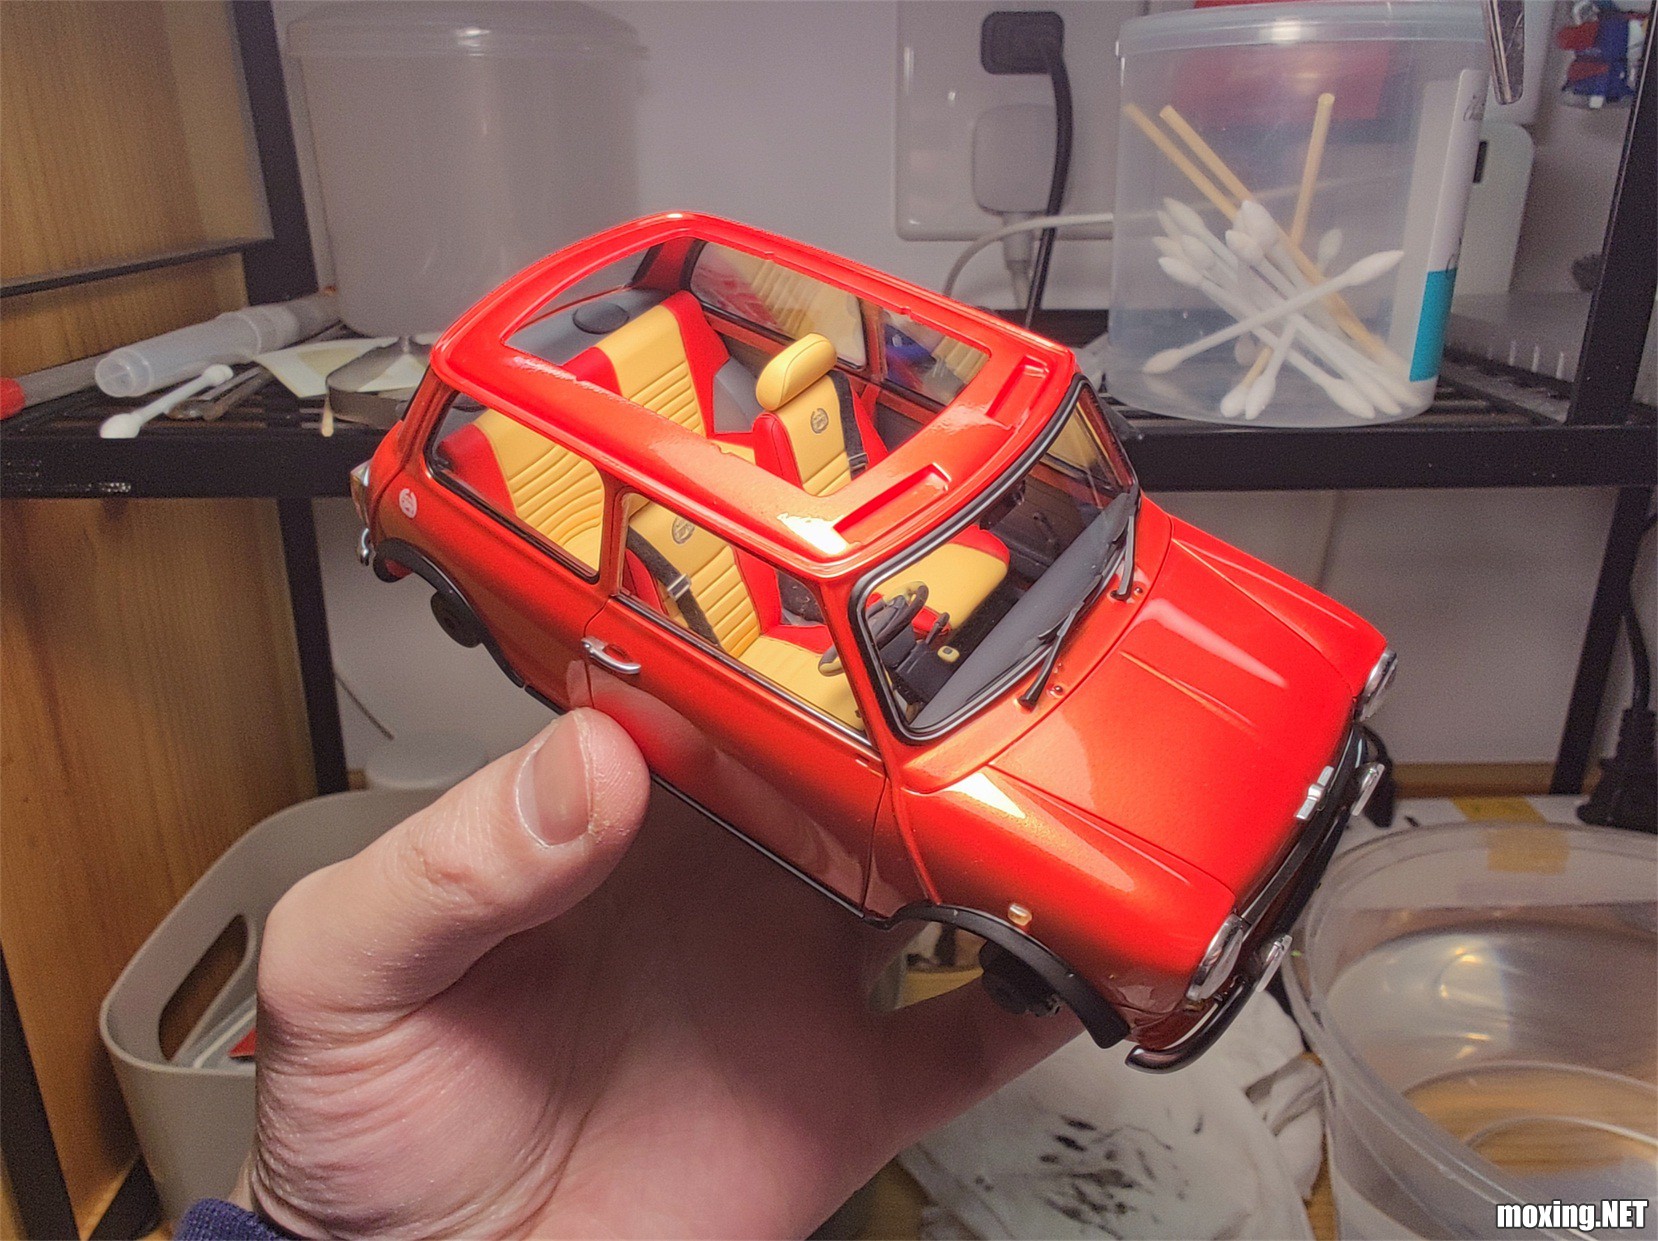
方向盘给了两种样式,不知道哪个更合适,干脆两个都做了。
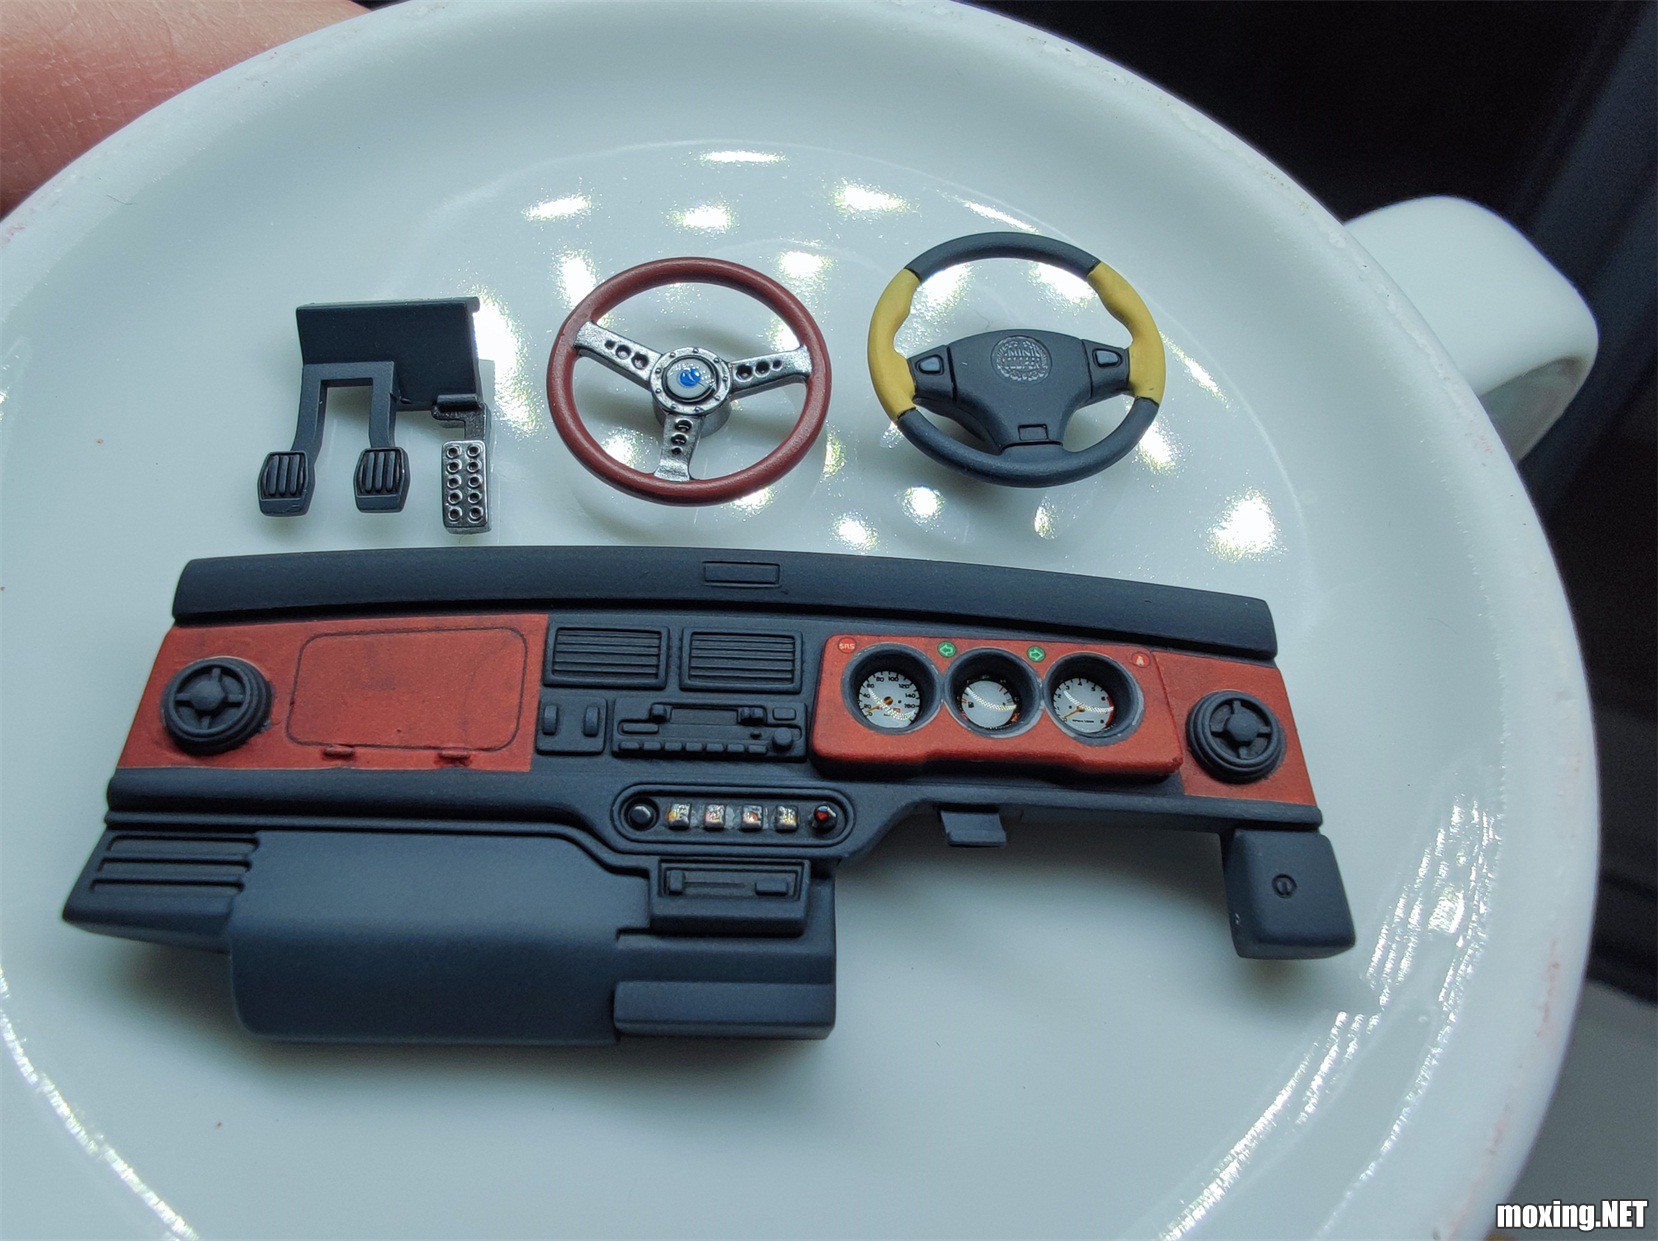
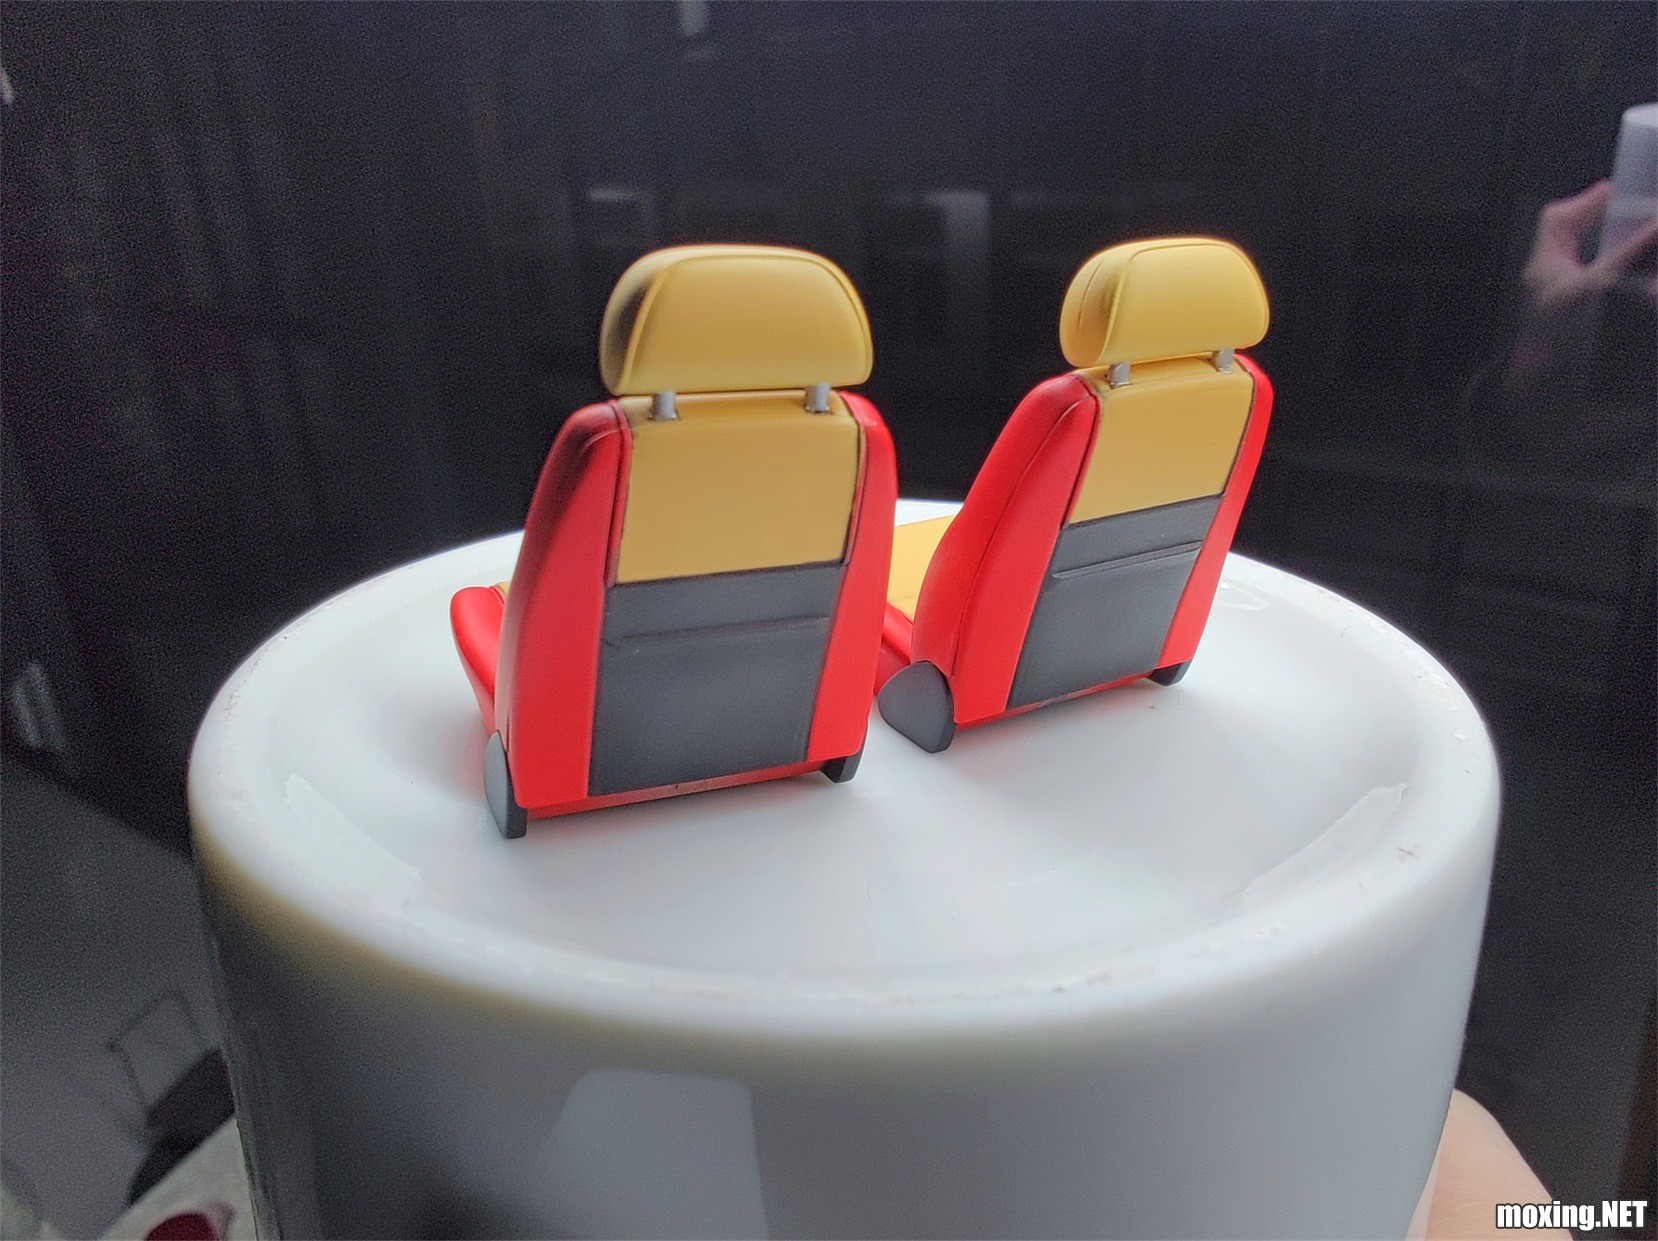
各种分色:
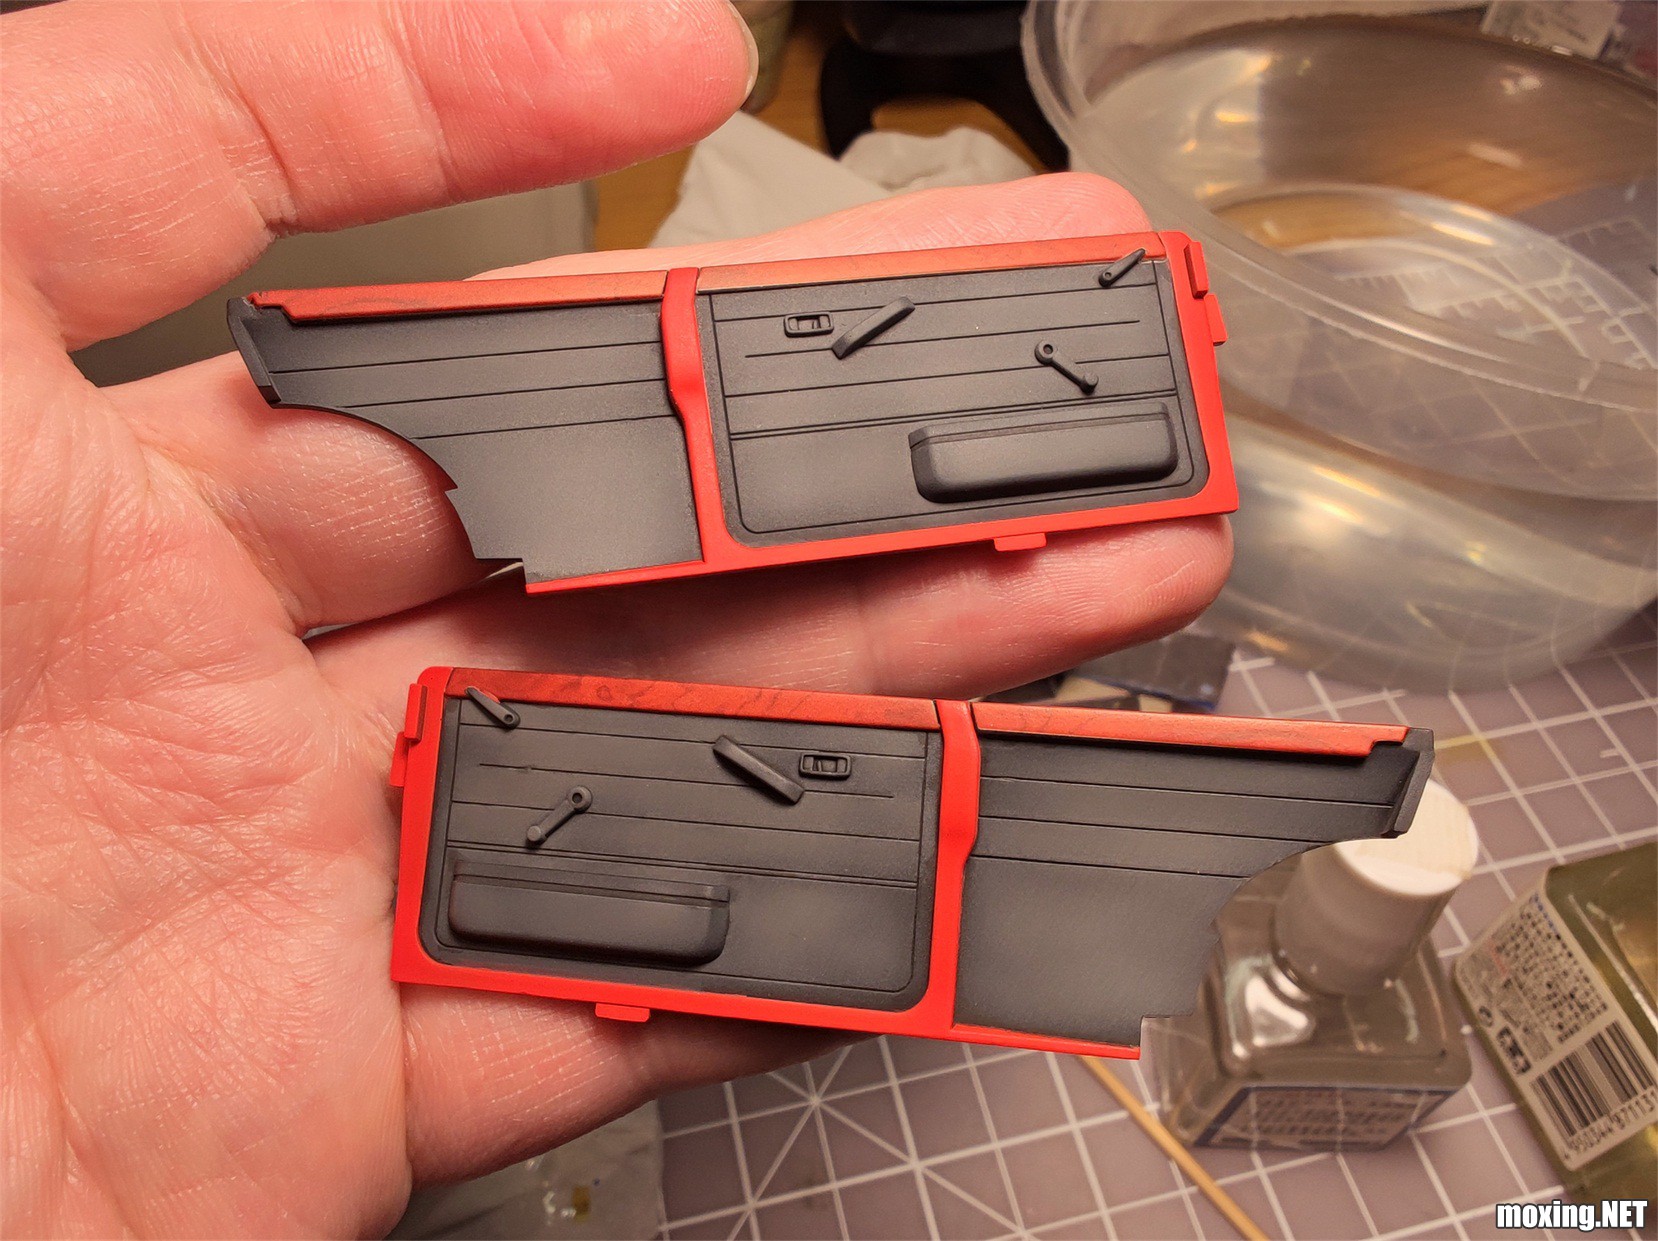
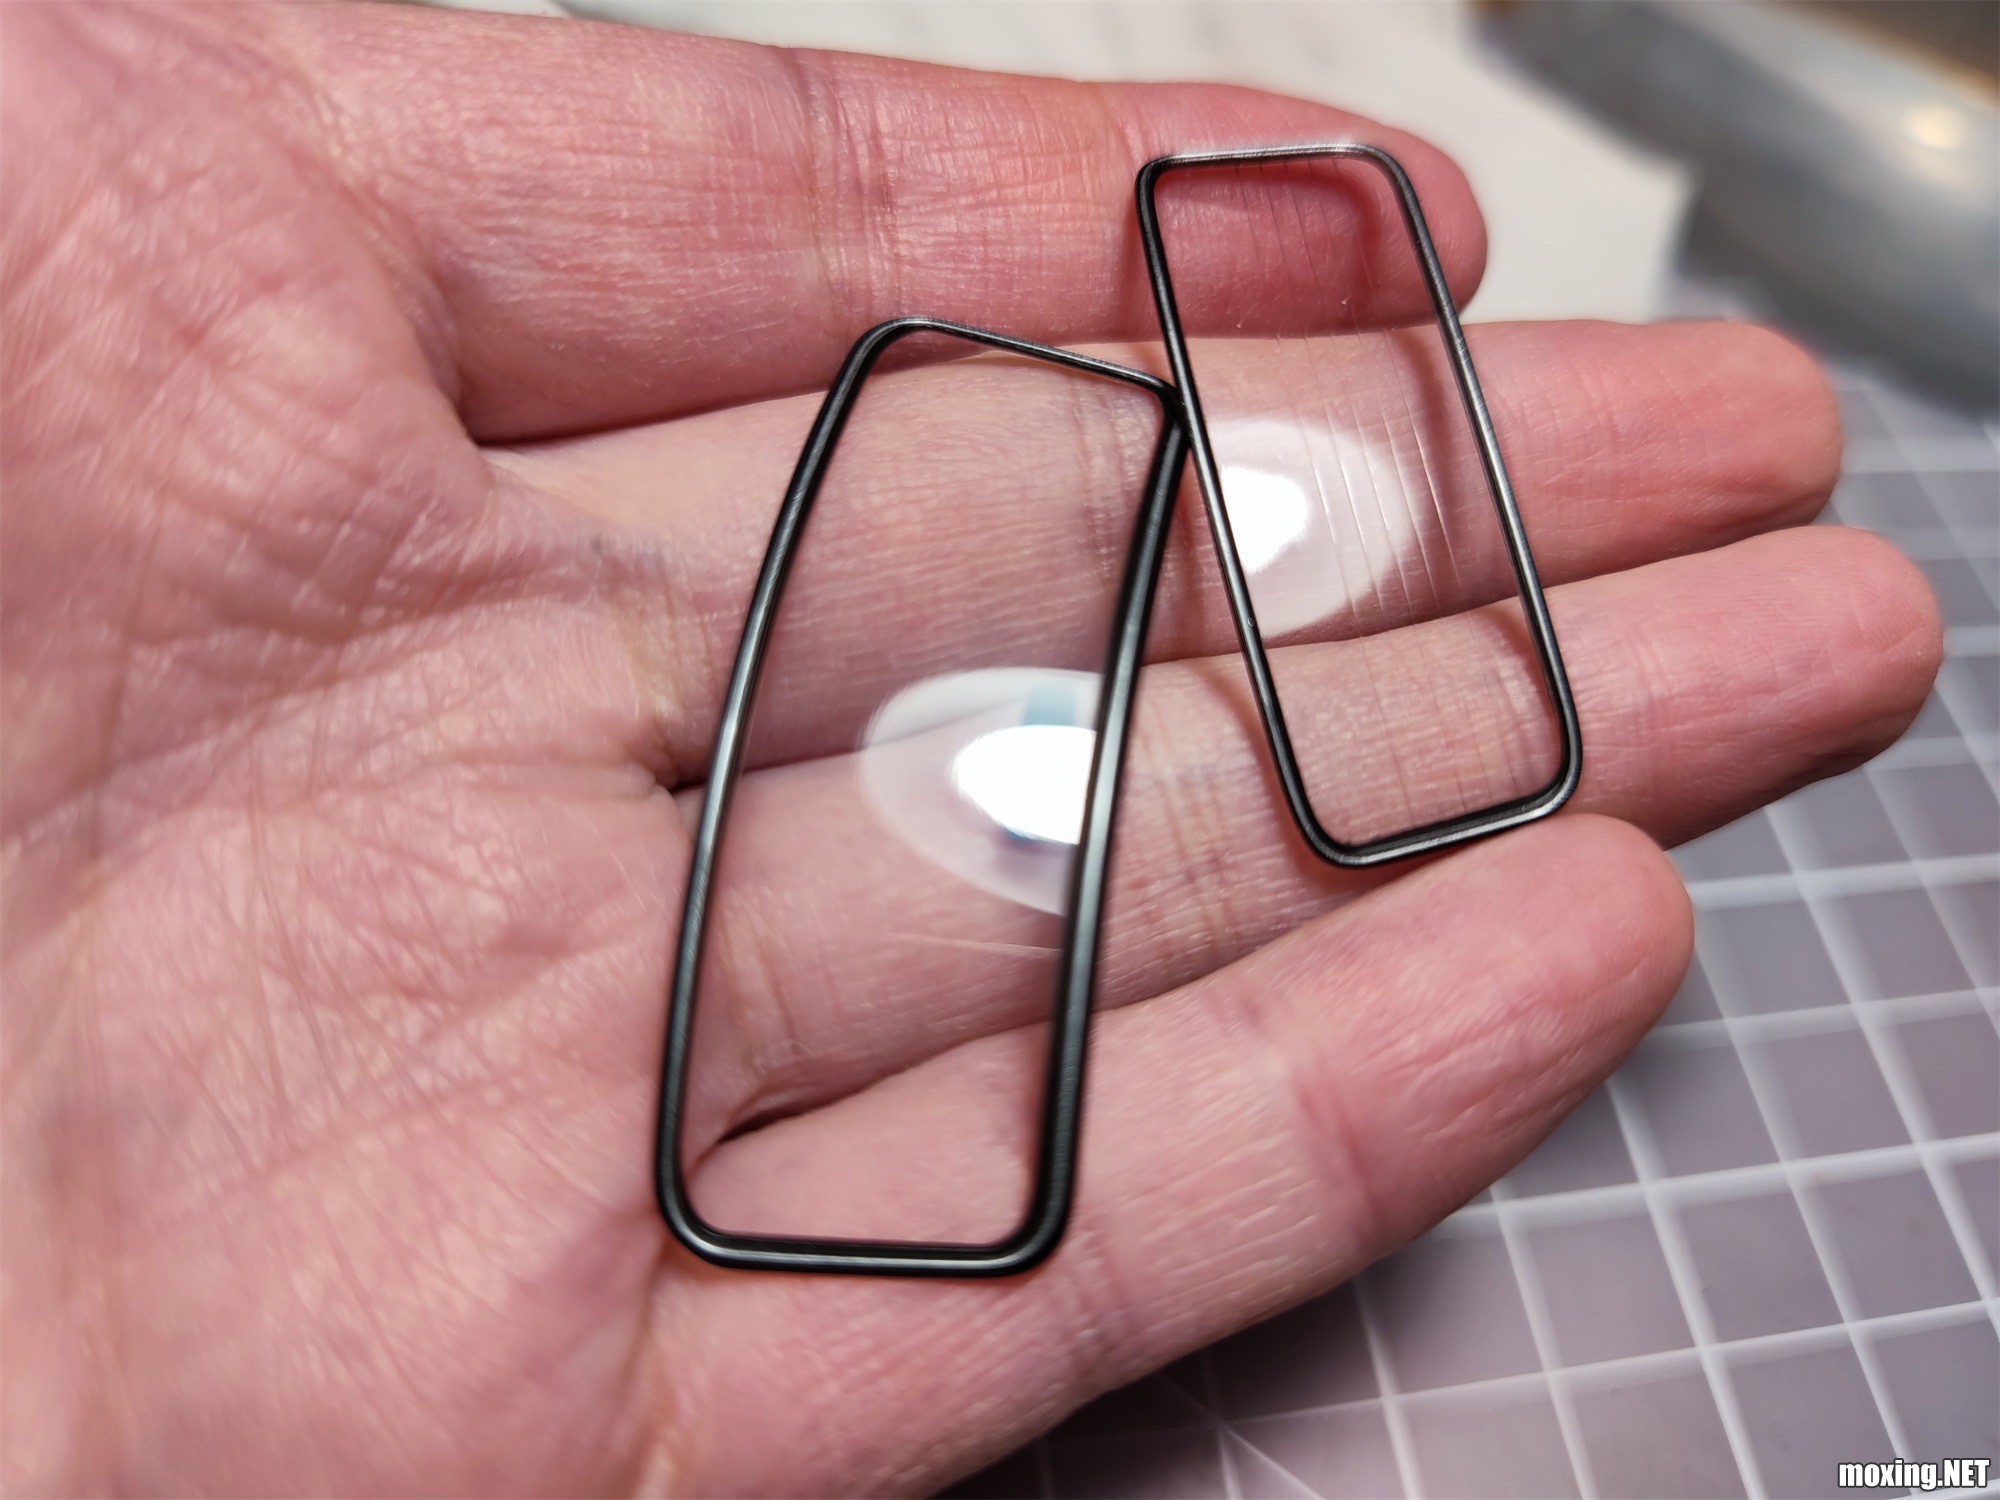
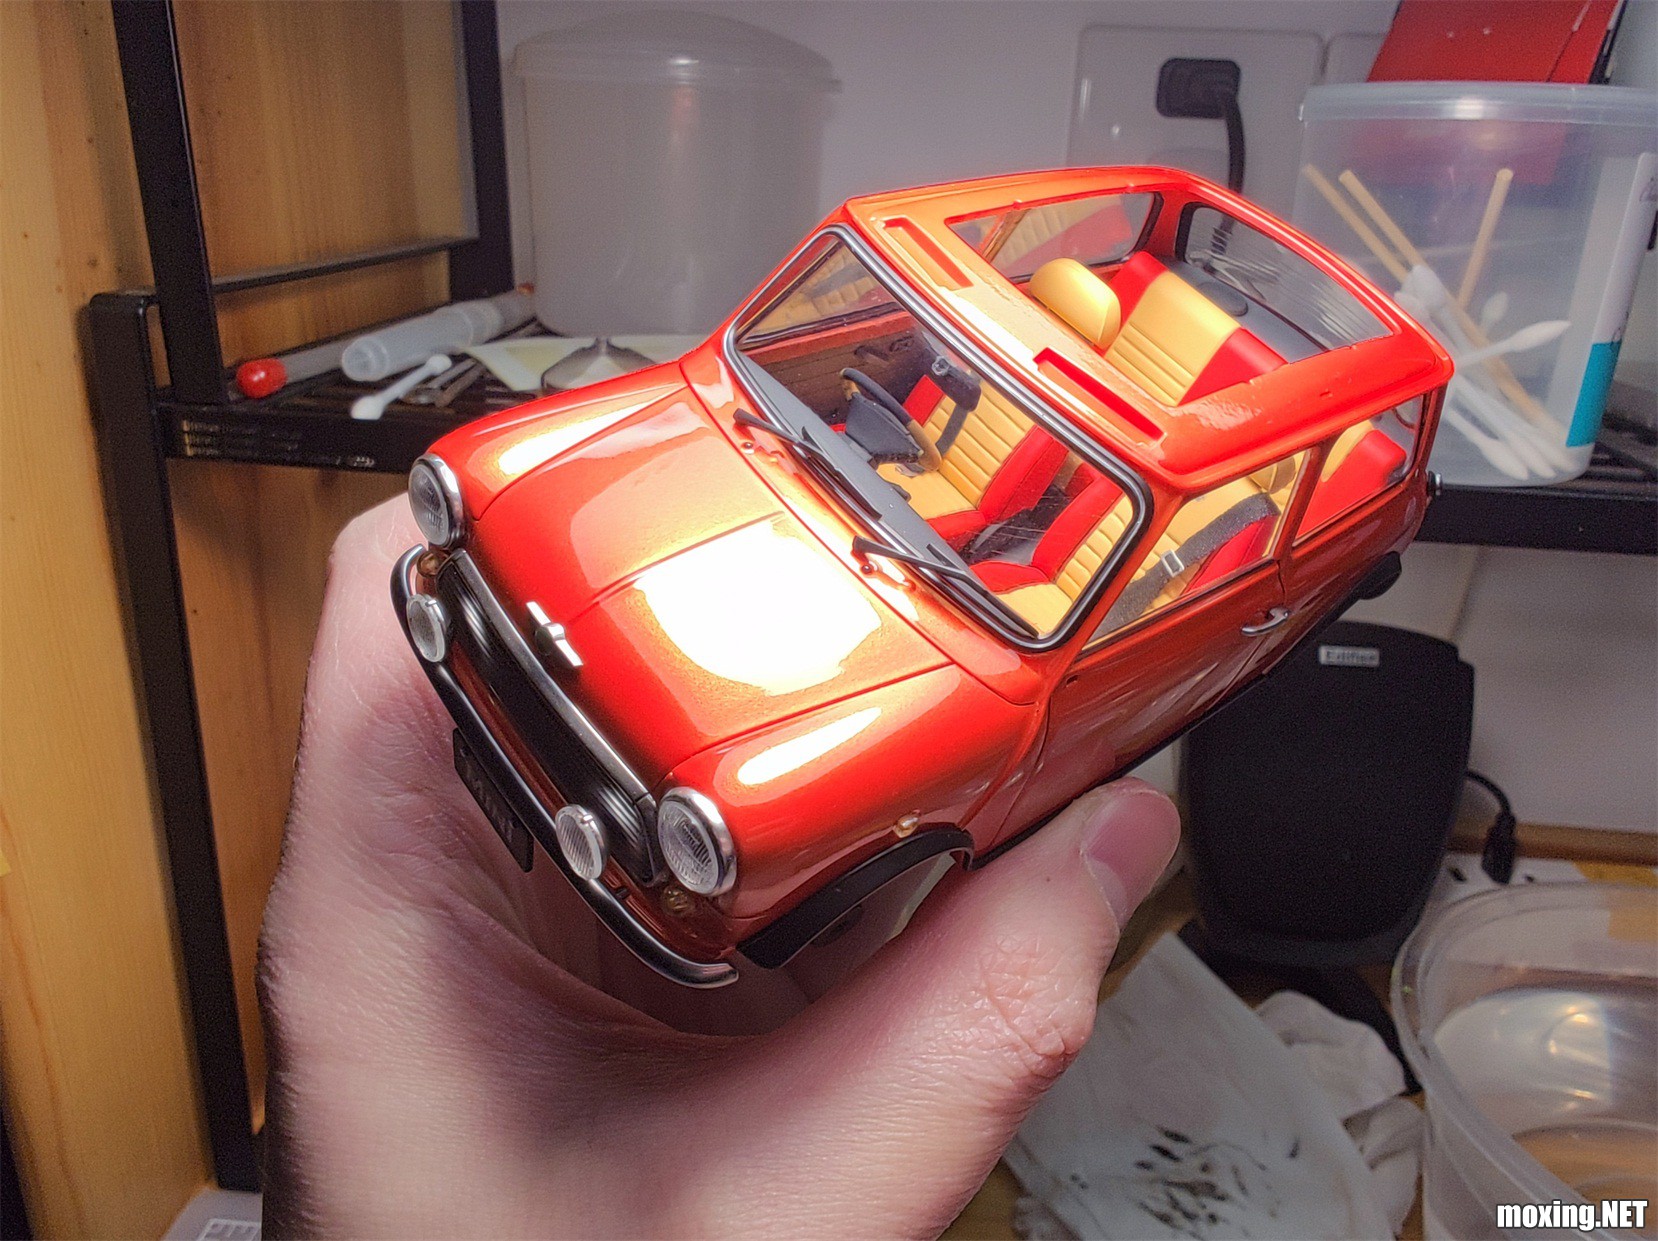
窗框的银框是用珐琅漆渗线擦出来的,很简单。长谷川终于肯尝试从开模角度去降低制作难度,而不是把所有玩家当成模型大师来对待。
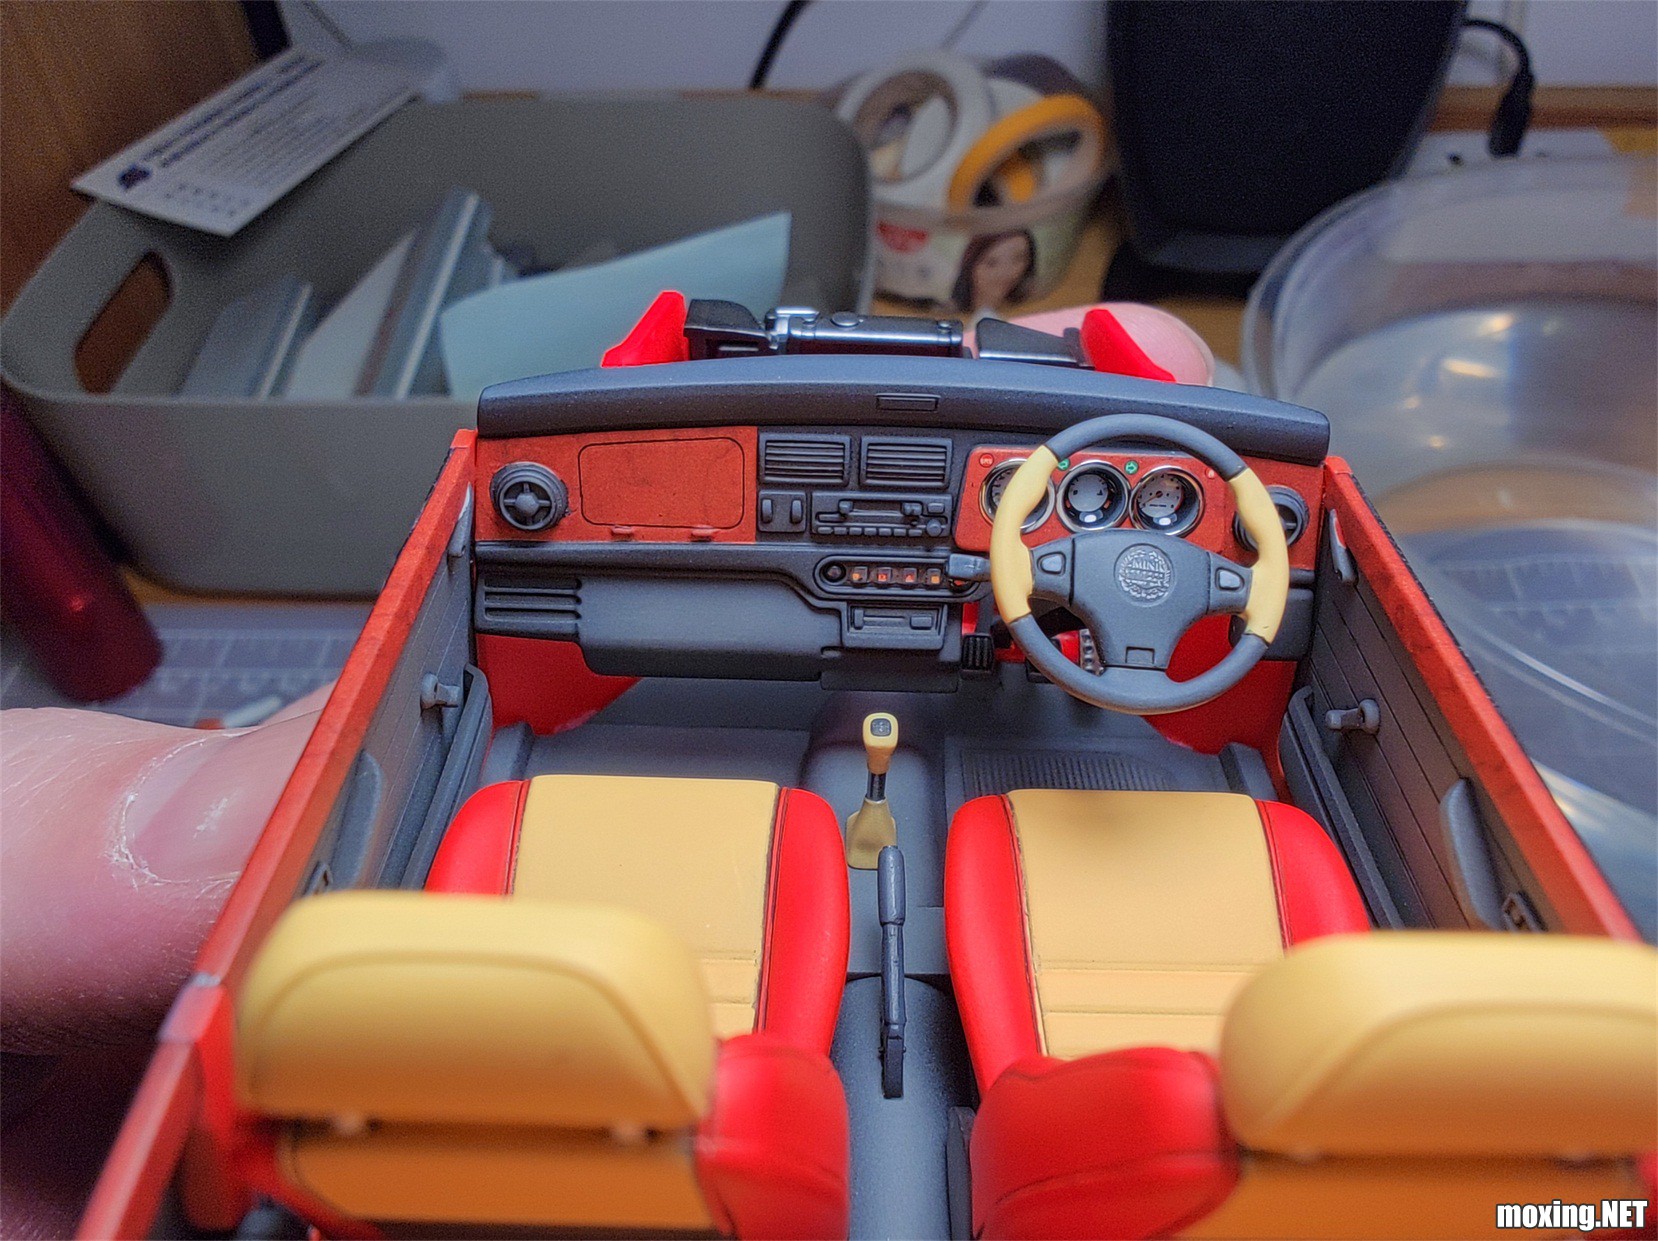
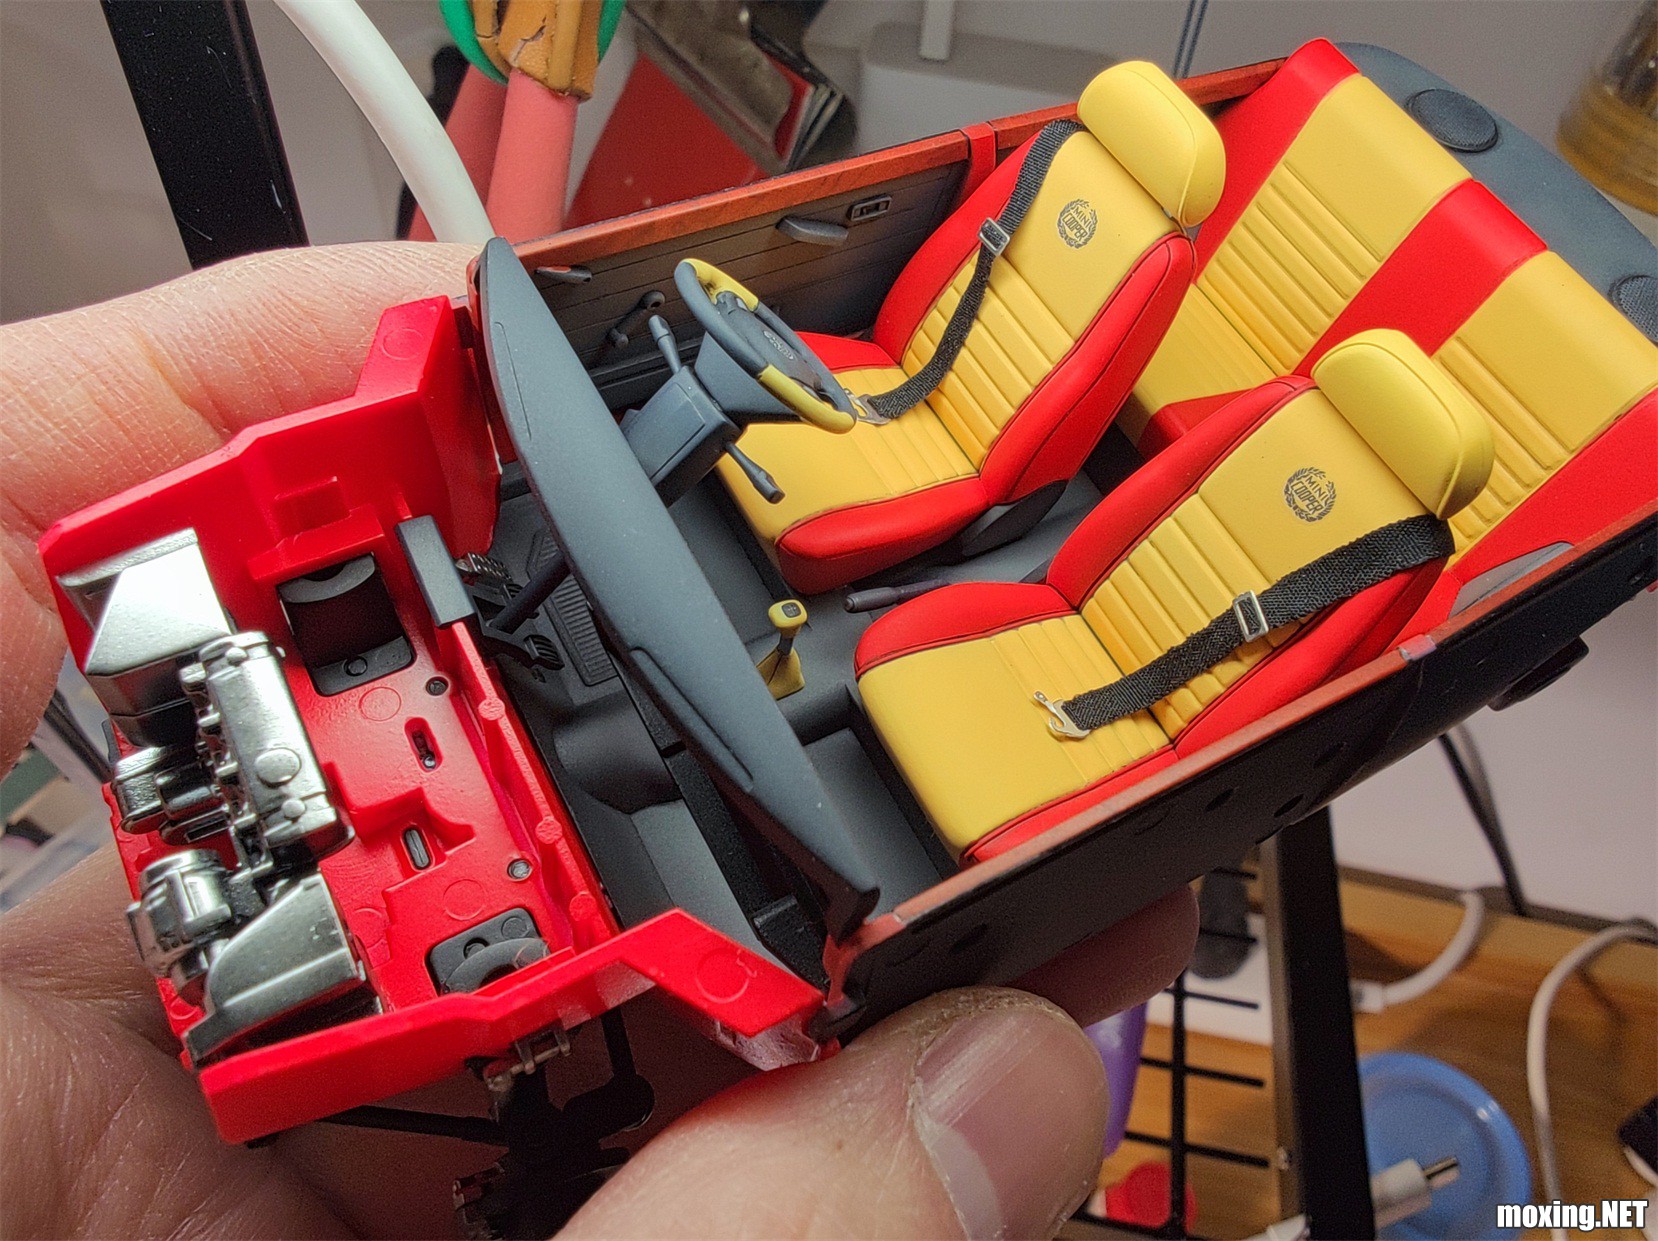
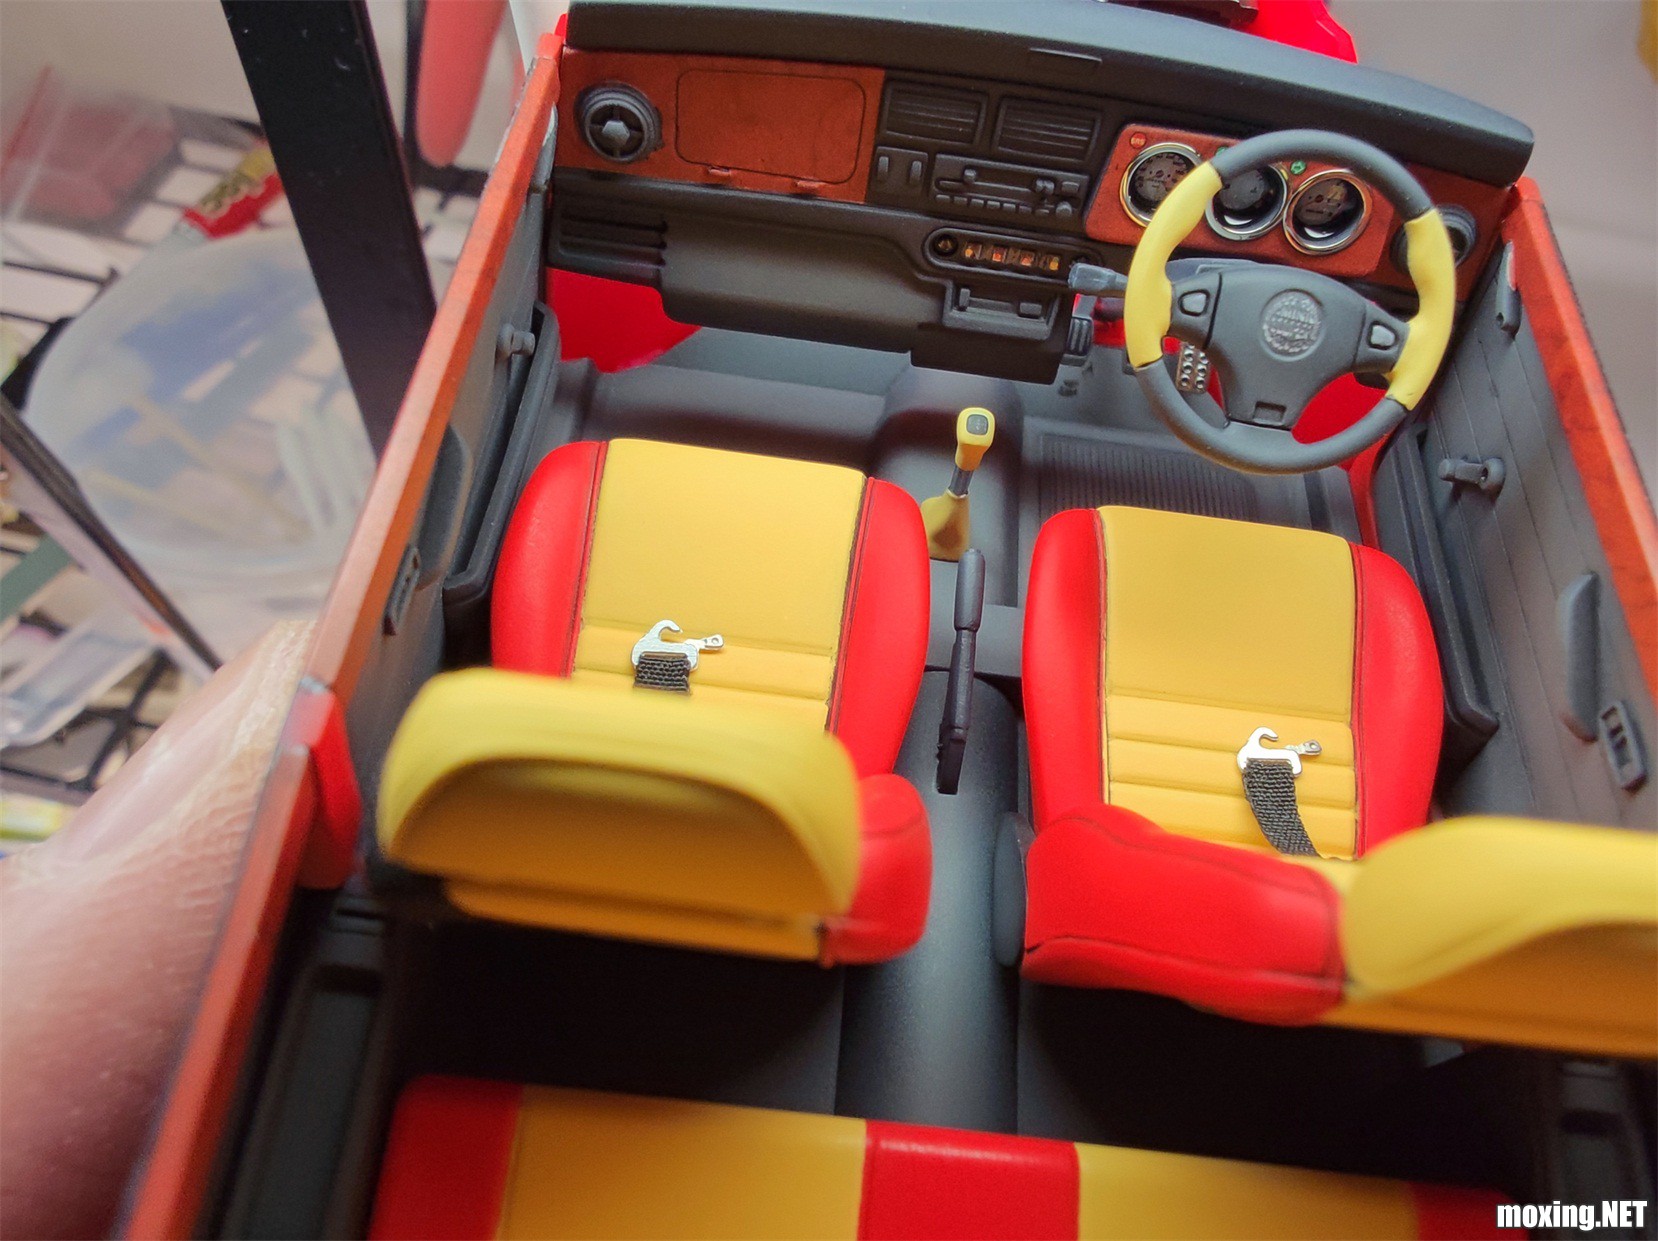
简单做了两个安全带,意思一下,经不起考证的。
这次四周的窗玻璃与车体的组合度并不是很好。达不到长谷川的正常水准。
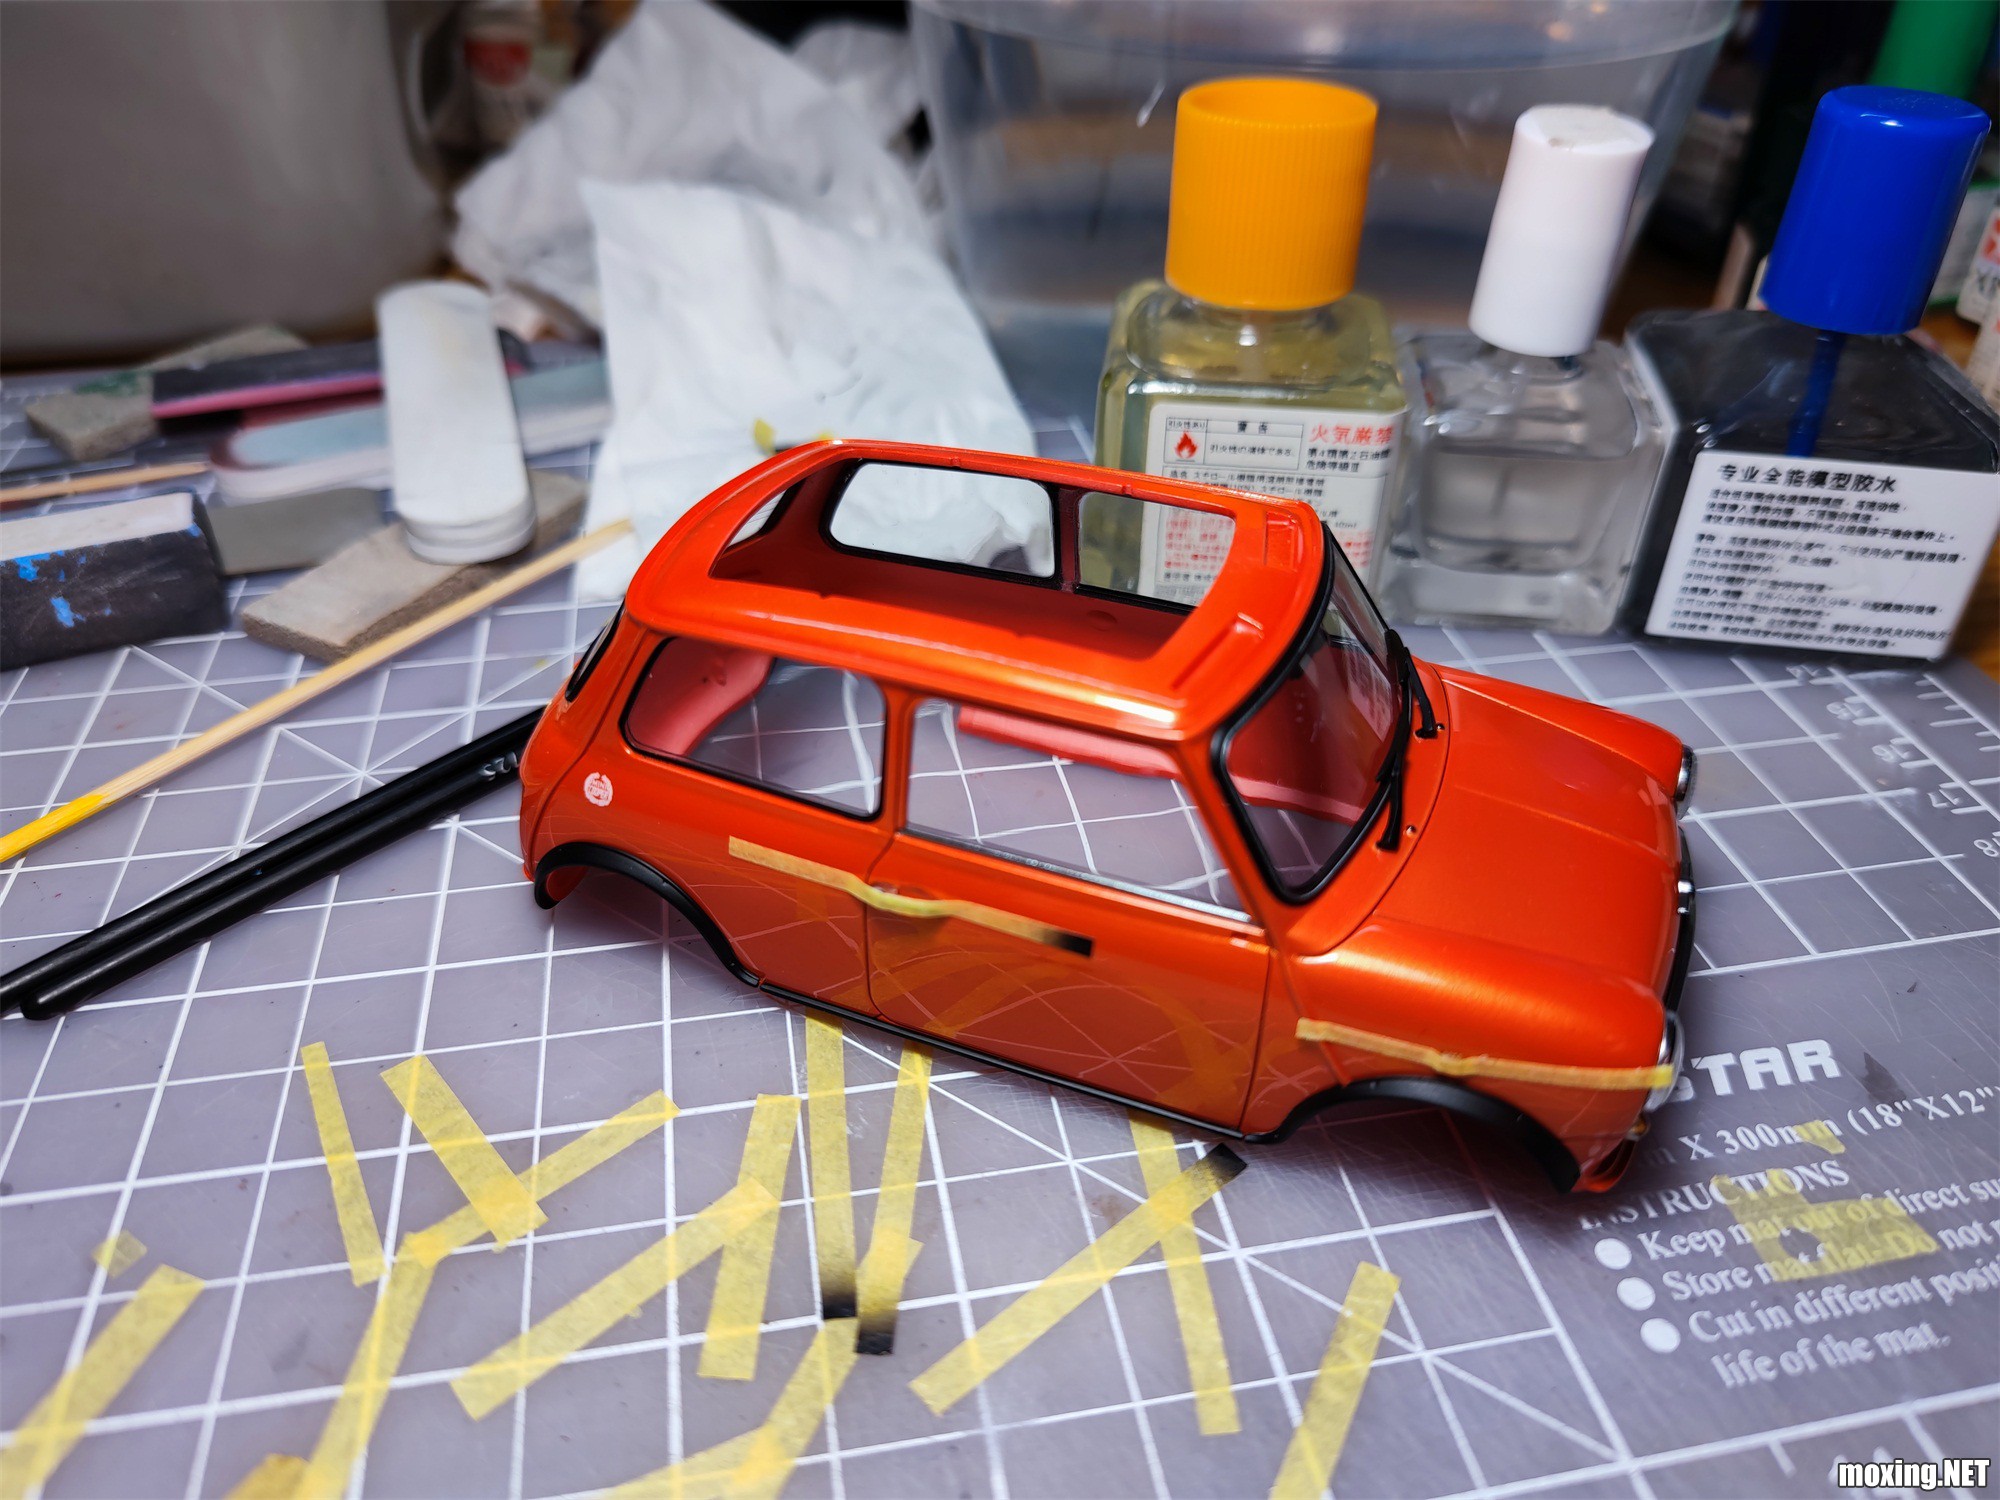
还是我一贯的遮盖带固定+流缝胶粘接。这其实是最安全、最耐久、最稳妥的方法。
我不是很相信瞬间胶,既不相信它的无白化,也不相信它能比流缝胶耐久稳固。而且一旦脱胶或溢胶,后果都是毁灭性的。各厂家的透明件专用胶水倒是没有白化的问题,但是干得慢且牢固度也不太行。透明件胶水,只能用于不太需要承重的地方。不要再去尝试各厂家的透明件胶水了,牢固度都是半斤八两,没法跟流缝胶的溶解粘接相提并论。
使用流缝胶粘接的难点:胶量控制和点胶位置。
流缝胶+遮盖带才是版本答案,我已经帮大家找到了,不用再费心费力去找什么更好更贵的胶水了。
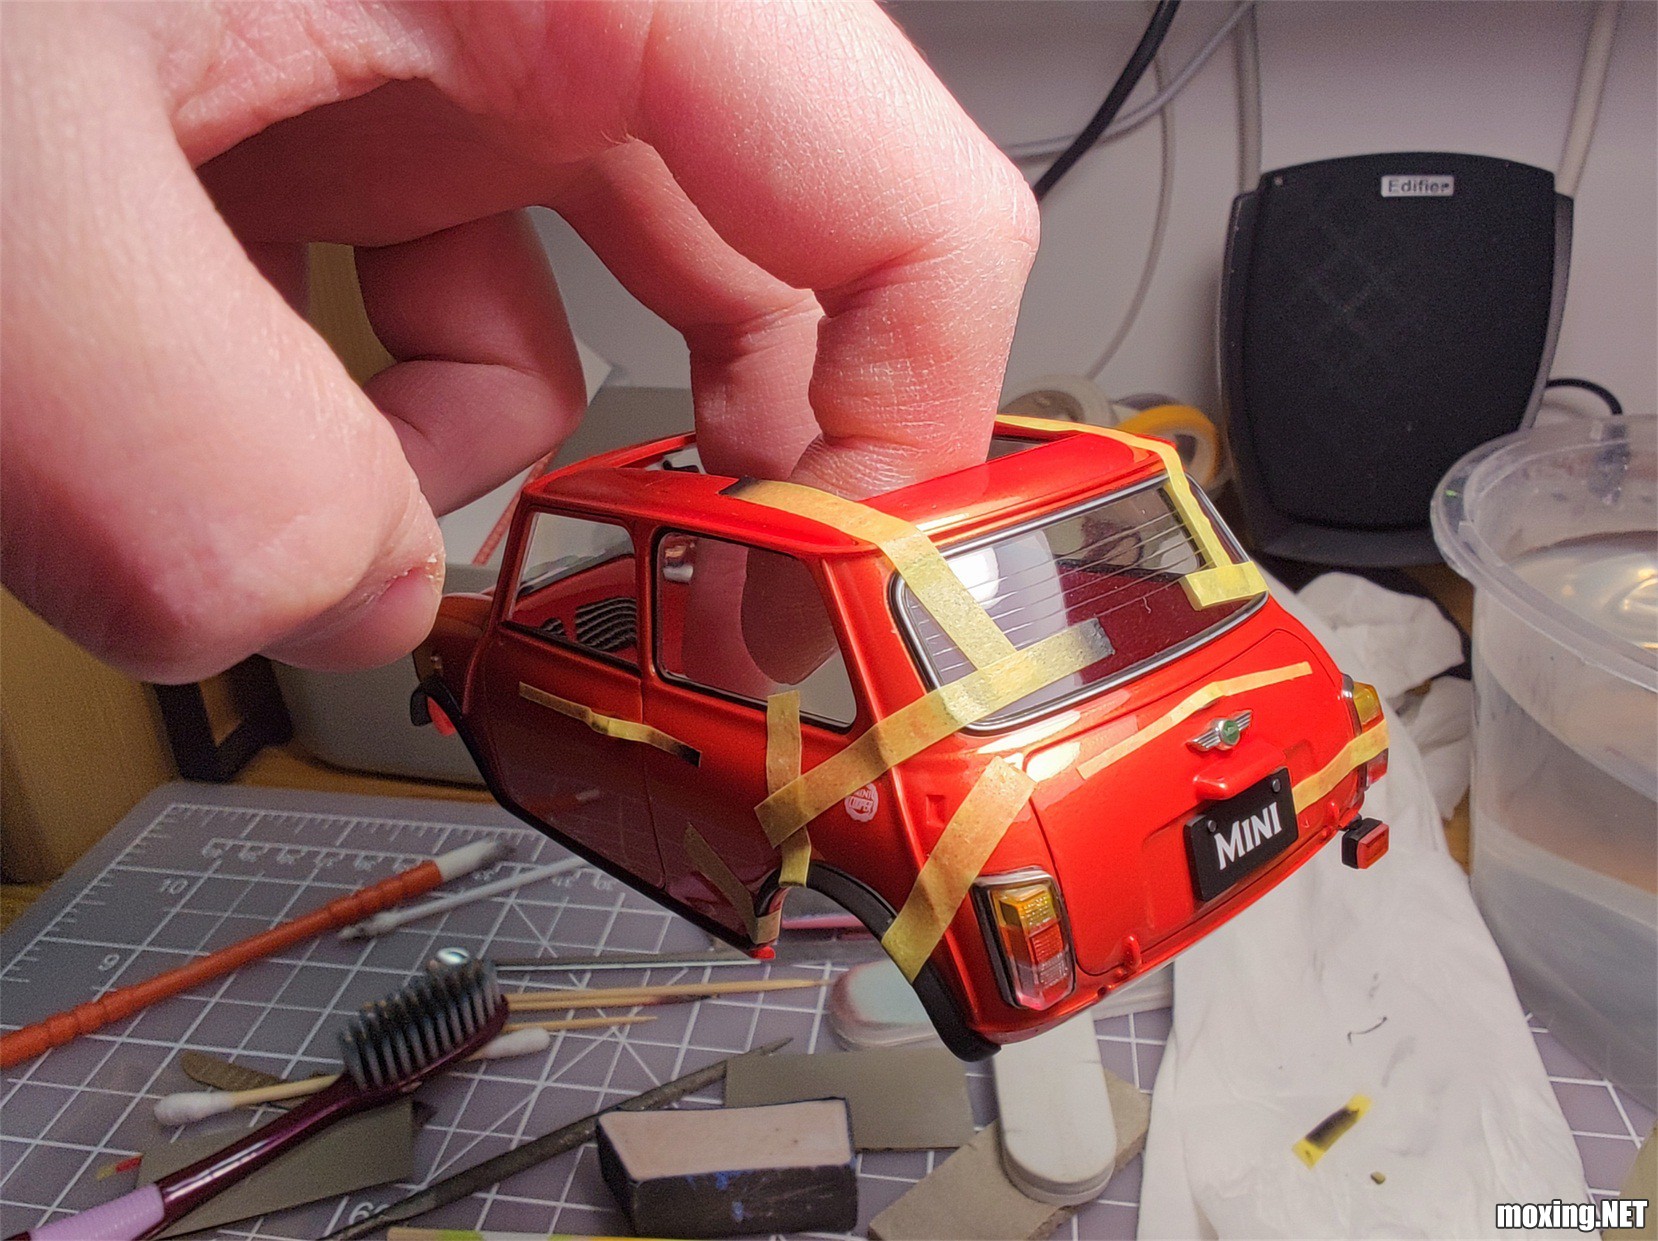


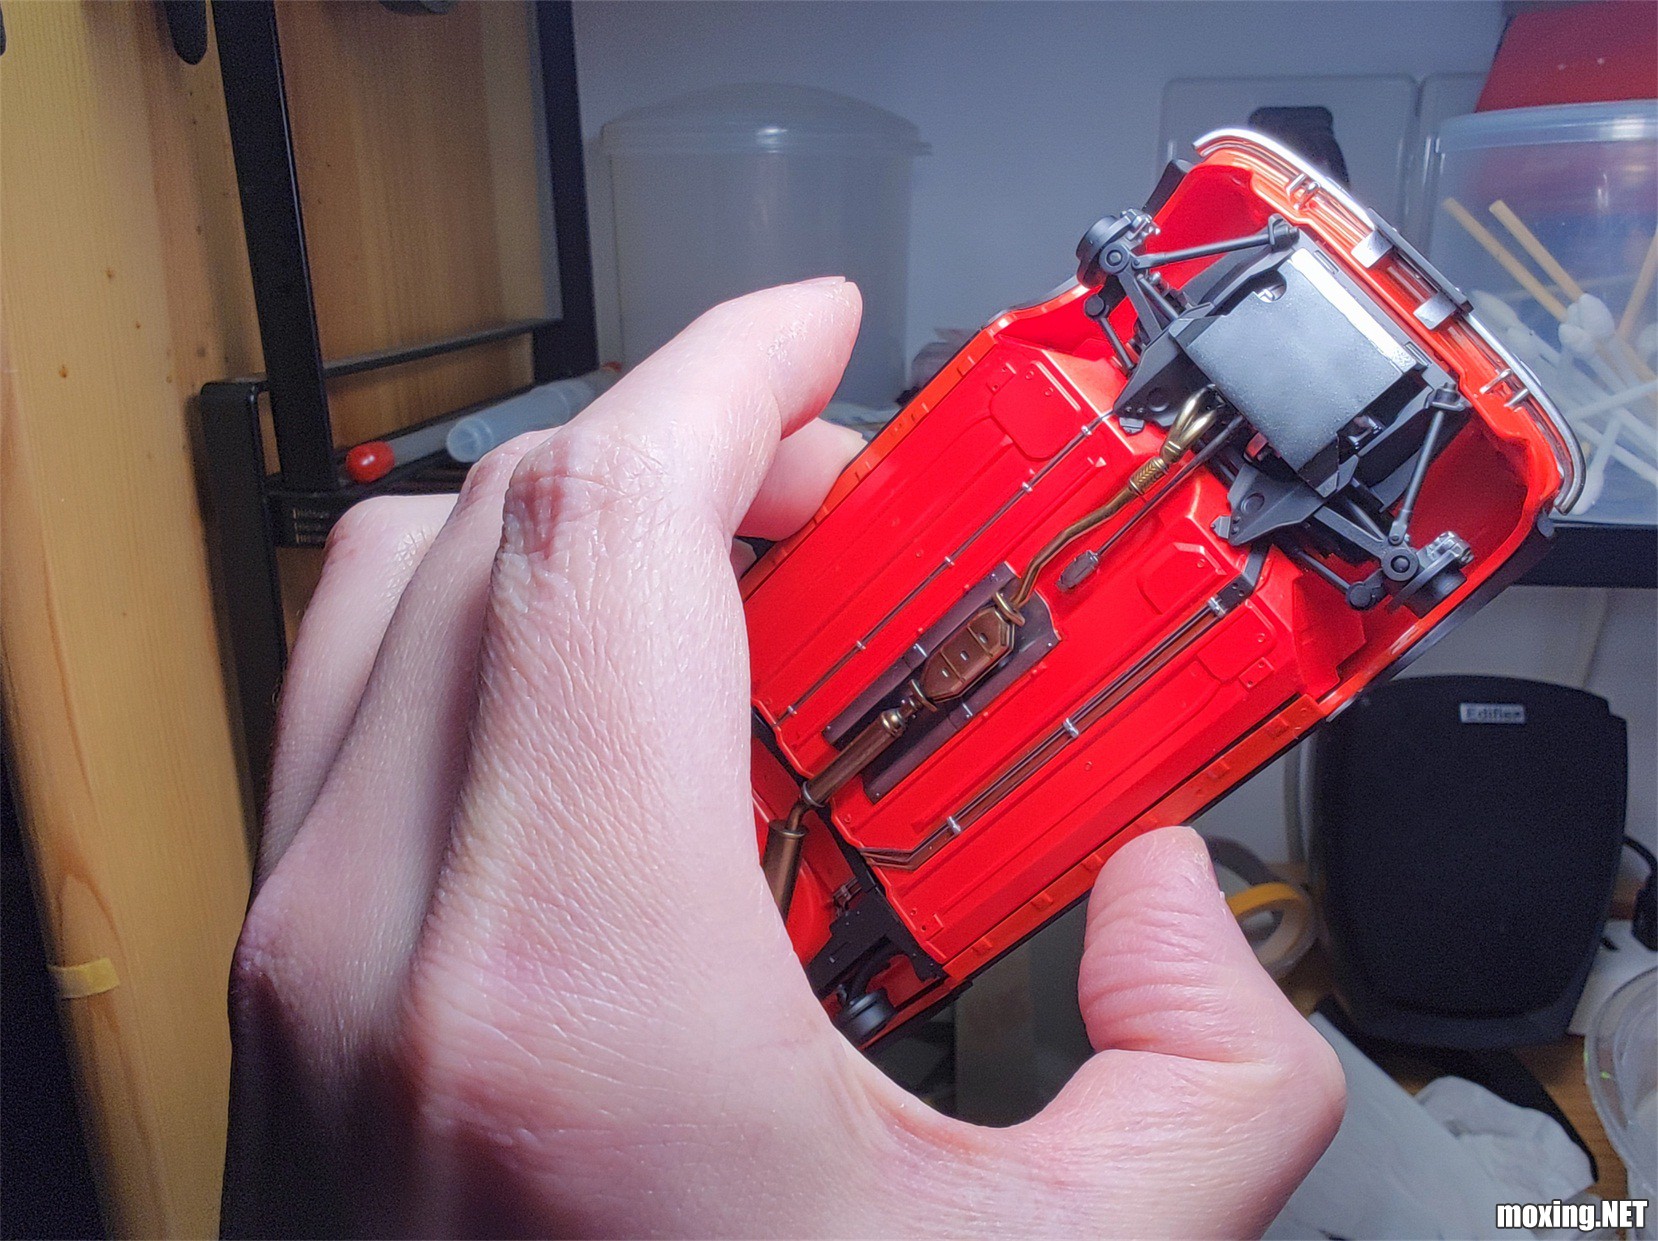
终于粘接完毕,刀尖上的舞蹈。实际外壳这些零件粘了二个晚上,主要是一些粘接面积极小的地方需要给予足够长的时间干燥固化。

 |
|
 已有
已有
![[模型网评测]长谷川(21158)-1/24 五十铃 ISUZU BELLETT 1600GTR——更新制作过程](/bbs/data/attachment/forum/202312/08/thumb_210_140_134311jrxgzg2ykbguob3r.jpg)
![[模型网评测]长谷川 1:20 WEGO EVA配色 三盒连开——更新制作过程](/bbs/data/attachment/forum/202309/22/thumb_210_140_201834d4ht99rh2o9vxqdh.jpg)
![[模型网评测]长谷川(54001) -1:72 SHINKAI 6500 深水潜艇——更新制作过程](/bbs/data/attachment/forum/202309/16/thumb_210_140_162012hyoeopmvonoro6ro.jpg)